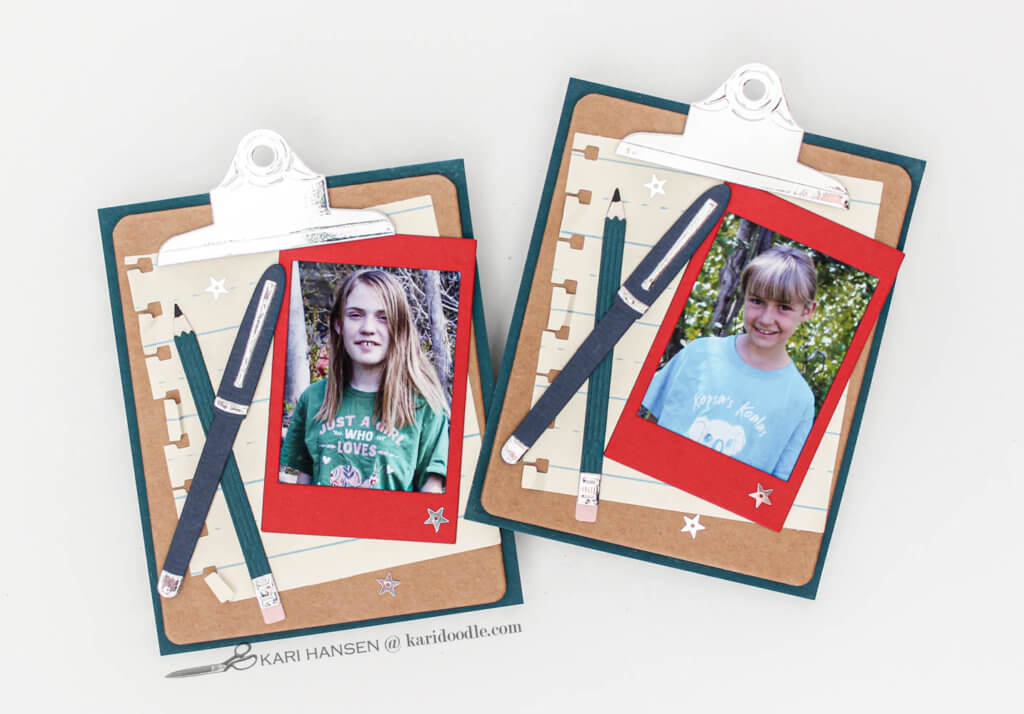
Inside: Step-by-step instructions for crafting unique clipboard-shaped teacher cards that include a student photo, using Spellbinders Write On die set.
A mysterious masked figure opens our SUV’s back hatch, quickly removing three marked grocery sacks and depositing two black garbage bags.
This anonymous, drive-by switch has an unreal quality hovering somewhere between a carjacking and a Mission: Impossible covert operation.
That surrealistic spell is broken when a more familiar masked figure approaches our car. With her friendly demeanor and happy waves, we can tell there’s a huge smile under her mask. Her kind eyes and long brunette hair offer clues to her identity.
My 2nd grader rolls down her window, joyfully exclaiming, “It’s my teacher!” We have a few moments to exchange greetings before our vehicle is waved on through the school carpool lane.
In this post:
Convey Teacher Appreciation at a Safe Distance
But before this brief encounter of drop-offs, pick-ups, and wistful hellos is over, I’m also leaving behind a heap of teacher love. The last thing I do before we pull out of the car line is to reach out the window to place a stack of envelopes into the hands of a gloved helper.
As strange and bittersweet as this rendezvous may be, it’s a fitting end to a school year that’s been equally topsy-turvy and unsatisfying.
Despite the detached quality of the last two months of social distancing, when our contact with traditional schooling has been limited to emails and Zoom calls, I’m still so grateful for my daughters’ teachers. I’m thankful for how they have made constant pivots in a changing educational landscape. How they have worked hard and creatively to maintain engagement and learning. And most of all, for genuinely missing my kids with all their hearts.
After trying to fill their shoes all these weeks, you’d better believe I have a whole new level of appreciation for our teachers!
Layer On Charm with a Themed Die Set
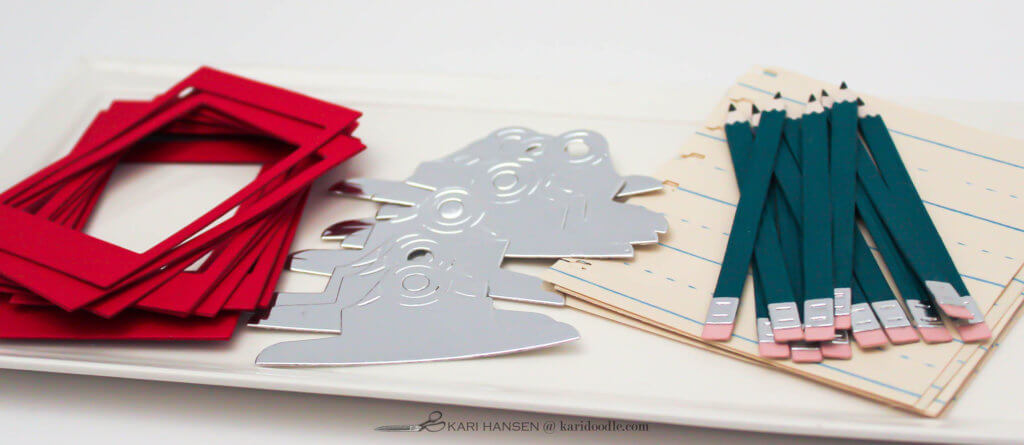
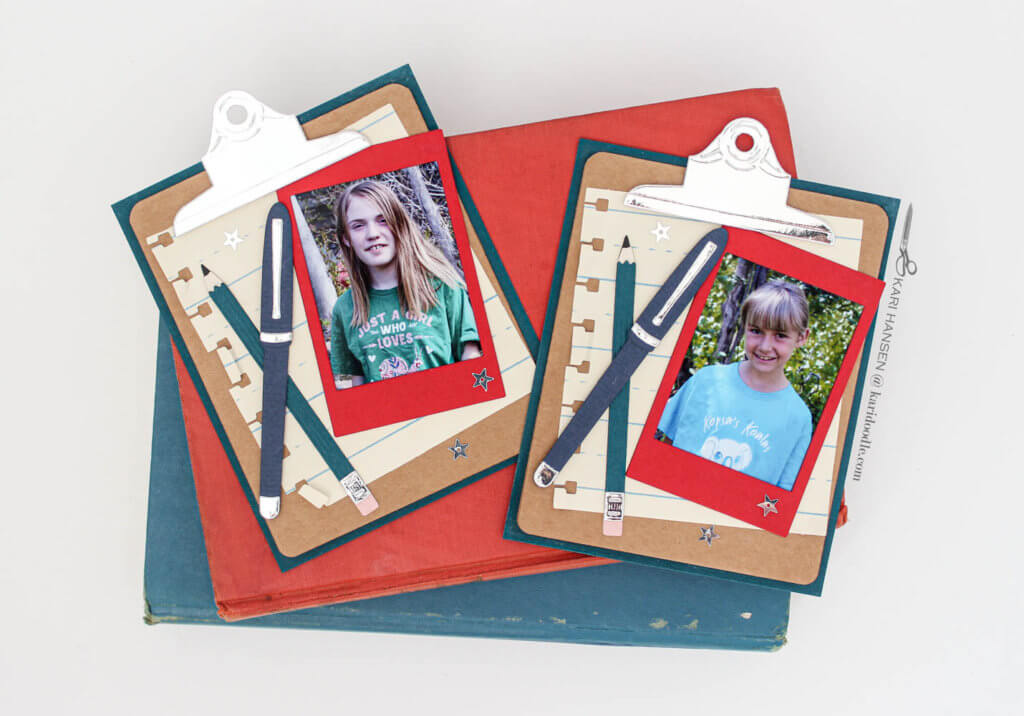
To start my teacher cards, I used the Write On die set from Spellbinders. This set contains dies to create a clipboard, scissors, a pencil, a pen, a paperclip, and a paper just the right size for the clipboard. There are dies for the bottom and top of the clip, as well as a little hinged piece you can use to make the clipboard open and close. For these cards, I simplified by using only the top piece of the clip.
The clipboard die has a score line rather than a cutting line one of the short sides to help create a shaped, folded card. I love creating novelty shaped cards like this!
I used classic colors for my cards, choosing kraft cardstock for the board, silver for the clip, and navy, teal, and deep apple red. However, this die set would also be super fun in a wide range of color schemes. Think about the trendy notebooks and desk accessories at Target or Office Max and how cute those colors and patterns would be translated into cards using this die set! Hmmm… I can feel some more clipboards coming soon!
Add Extra Personality with a Student Photo
When designing the card, I decided to include a photo of my student. I thought this would be a fun, personalized card for the teachers to receive, especially after months of not being able to see the students in person.
I used the Instalove die set from Waffle Flower to create a frame for the photo. The size of this die worked perfectly with the scale of the clipboard.
In a graphics program, I sized a recent photo of each girl to 2 x 2.75,” which is slightly larger than the opening of the largest frame in the Instalove die set. I copied and pasted each photo six times and then printed them out on my Epson photo printer. Once I trimmed the photos down, they were ready to go into the frames.
Need more ideas for teacher cards? Check out How to Make Crazy Cute Critter Cards for Your Kids’ Teachers
Spread the Teacher Love by Constructing Cards in Multiples
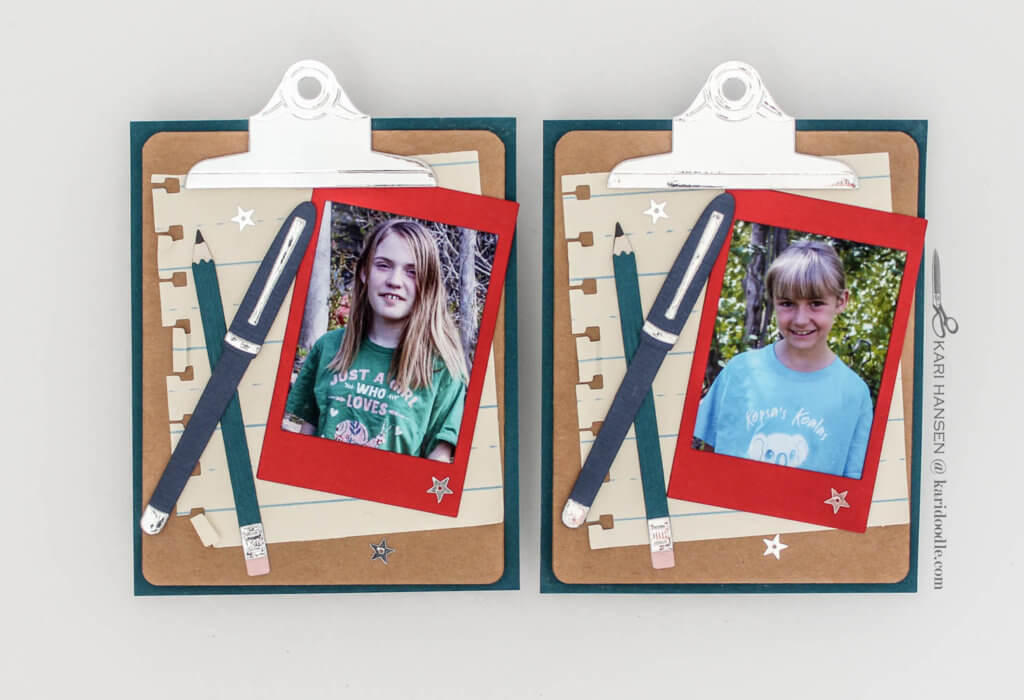
I made twelve cards in total, six for each of my two daughters’ teachers. I wanted to include my 2nd grader’s principal, specials teachers, and para, in addition to her classroom teacher. And since my older daughter is now a big middle schooler in 6th grade, she has multiple teachers as she changes classes throughout the day.
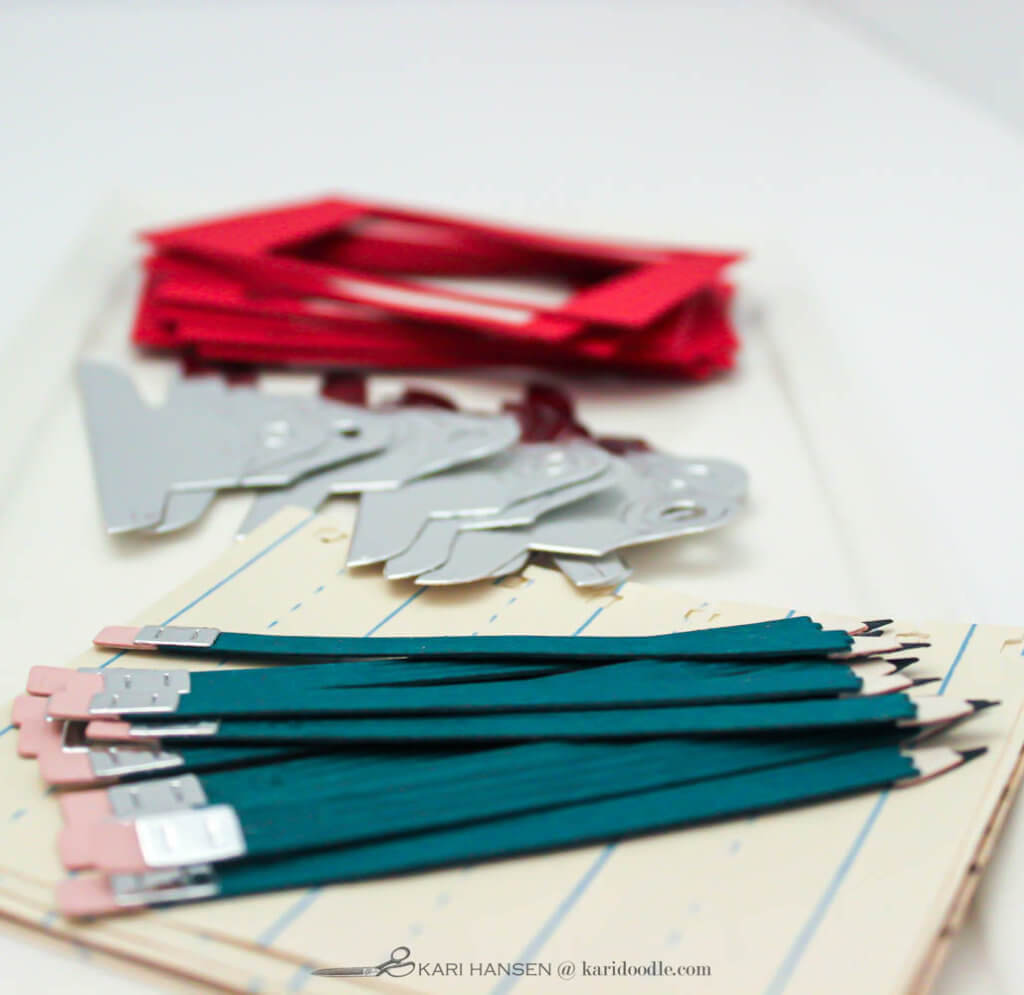
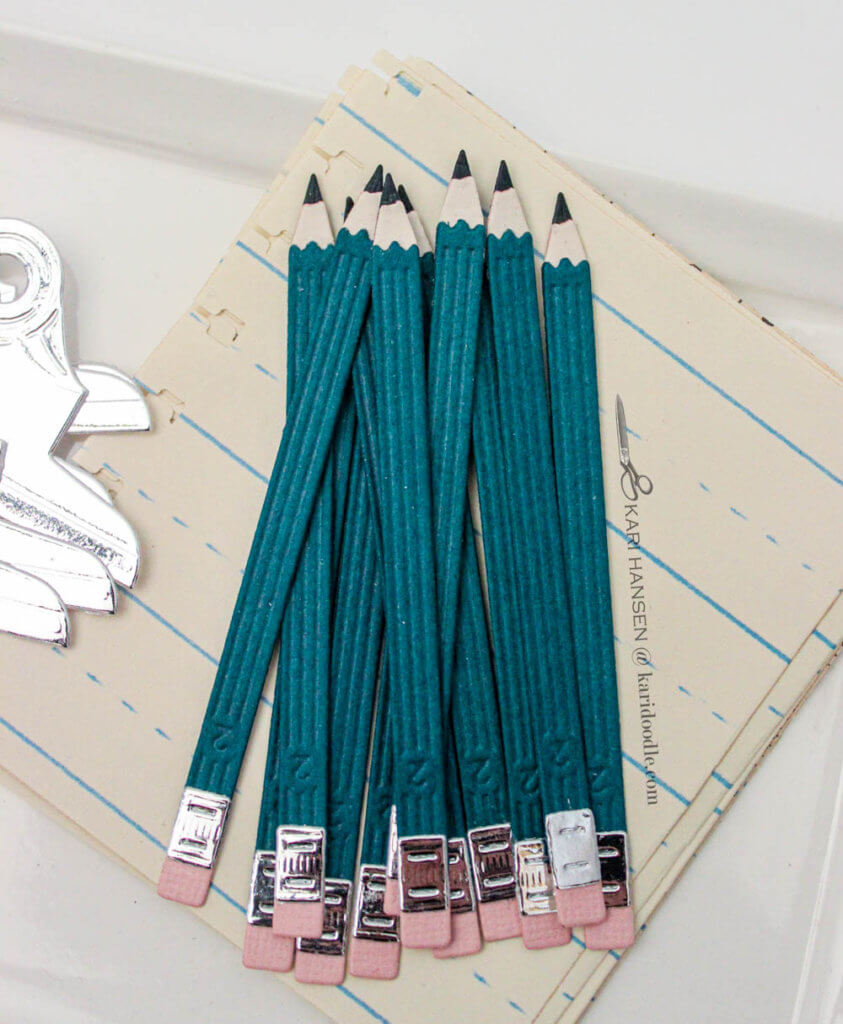
Because of the quantity, I made the cards assembly-line style. I did all the die-cutting at once, then assembled the die cuts, and lastly put the cards together. Making a dozen tiny pencils and pens was a little fiddly, but still fun to do. I assembled all those little pieces while I watched Endeavor. Before two episodes had rolled, I had a stack of darling die cuts ready to go.
For the notebook paper on the cards, I found some patterned paper in my stash that looked like it came out of a writing primer. I used a punch to give one edge a torn-out spiral look. For two of the cards, I subbed musical score paper for the lined pattern, still punching the edge. These two went to my daughters’ music teachers. (I didn’t get photos of the music versions before I had to take them to the school drop-off.)
More A+ Stamp & Die Sets Featuring School & Office Supplies
If the look of school and office supplies as found in the Write On die set appeals to you, following are some additional suggestions of stamps, die sets, embellishments, and paper collections you might like or already own.
These kinds of sets work perfectly for school, teacher, and graduation cards, but would work well for many other themes too. Office occasions such as promotions, team achievements, and retirement. Masculine cards of all occasions. Teen cards in trendy colors and patterns. Themed cards for artists, writers, engineers, technicians, and doctors.
Stamp Sets
- Artful Tools stamp set, Tim Holtz for Stampers Anonymous
- Arts & Crafts Icons stamp set, Ink Blot Shop
- Brilliant Day stamp set, Honey Bee (pencils and crayons)
- Journaling Spots stamp set, Ink Blot Shop
- Memos stamp set, Atelier Dreams
- School Desk stamp set, Tim Holtz for Stampers Anonymous
- Your Story stamp set, Sweet ‘n Sassy
Die Sets
- Crayon Box Card XL die set, Honey Bee
- Mini Clipboard die set, Tim Holtz for Sizzix
- Office Charms die set, Karen Burniston
- Pack It Up die set, Spellbinders
- Pencil Go To Gift Card Holder die set, Ink to Paper/Papertrey Ink
Paper, Stencils, & Embellishments
- Artist stencil, Kaisercraft
- Lined Paper stencil, Carta Bella
- Office Hours Collection paper and embellishments, Pink Fresh
- Ruler Pieces, Tim Holtz Idea-ology
- School Days Collection, Carta Bella
While the usual end-of-school-year parties, photo ops, and good-bye hugs are not feasible right now, at least I can still pass on a handmade card and a handwritten note of gratitude to each of my daughters’ teachers. As we wrap up this unprecedented school year, I hope our teachers know how much we appreciate the work they do every day in the classroom with our precious children. And I hope they know too how much we’re looking forward to hanging up our homeschooling hats and letting them do that once again in August!

Step-by Step: How to Make a Teacher Clipboard Photo Card
- Cut heavy kraft cardstock to 10 x 4. Score lengthwise at 5” and fold to create a top-folding 5 x 4” card. One short edge of the clipboard die from the Write On die set does not have a cutting edge; position this edge slightly above the folded edge of card and run through die-cutting machine.
- Cut teal cardstock to 4 1/8 x 5 1/8.” Adhere the kraft clipboard card to center of teal cardstock.
- From silver foil cardstock, die-cut top clip for clipboard, band for pencil, and the clip, band and rounded end for pen.
- Die-cut two pencil shanks from teal cardstock and two pen bodies and caps from dark blue cardstock. Die-cut pencil eraser and wood tip from light pink and beige cardstocks. Die-cut pencil tip from black cardstock.
- Stack and adhere the two pencil shanks together and pen bodies and caps. Adhere pen parts together. Adhere silver pieces to pen. Stack and adhere the eraser pieces together with pink piece on top of beige piece. Repeat for wood tip, with beige piece on top of pink. Adhere black pencil tip to beige wood piece, then attach to pencil shaft, overlapping the shaft over the pencil tip slightly. Adhere silver band to pink eraser, then attach both pieces to pencil shaft.
- Cut and apply foam tape to the back of pencil, pen, and silver clip.
- Use paper die to cut from ruled patterned paper. Make notebook edge on one long side with paper punch. Adhere to kraft clipboard at an angle, distressing the notebook edge as desired.
- Die-cut two frames from red cardstock using largest Instalove die. Stack and adhere together.
- Size and print photo at 2 x 2.75.” Trim photo and adhere inside red cardstock frame. Adhere on top of ruled paper, placing it so a corner will be under the silver clip.
- Adhere pencil, pen, and clip to card front, placing clip high enough that it will clear the teal cardstock when kraft clipboard is opened.
- Attach three silver star sequins with liquid glue. Stamp sentiment inside card.
Supplies
- Write On die set, Spellbinders
- Instalove die set, Waffle Flower
- Red, dark blue, teal, pink, black, and beige cardstock
- Kraft cardstock #100, Neena Environment Desert Storm Smooth
- Silver foil cardstock
- Glossy photo paper, Epson
- Ruled patterned paper
- Similar: School Days Collection, Carta Bella
- Silver star sequins
Tools and Adhesive
- Photo printer, Epson
- Binding edge punch, EK Success
- Foam adhesive, Scotch 3M
- Precision Craft Glue, Bearly Art
- Scoring board
- Teflon bone folder
- Misti stamping platform, My Sweet Petunia
- Die-cutting machine, Spellbinders Platinum 6
- Small fine-tipped scissors, EK Success
- Paper trimmer, Tonic
