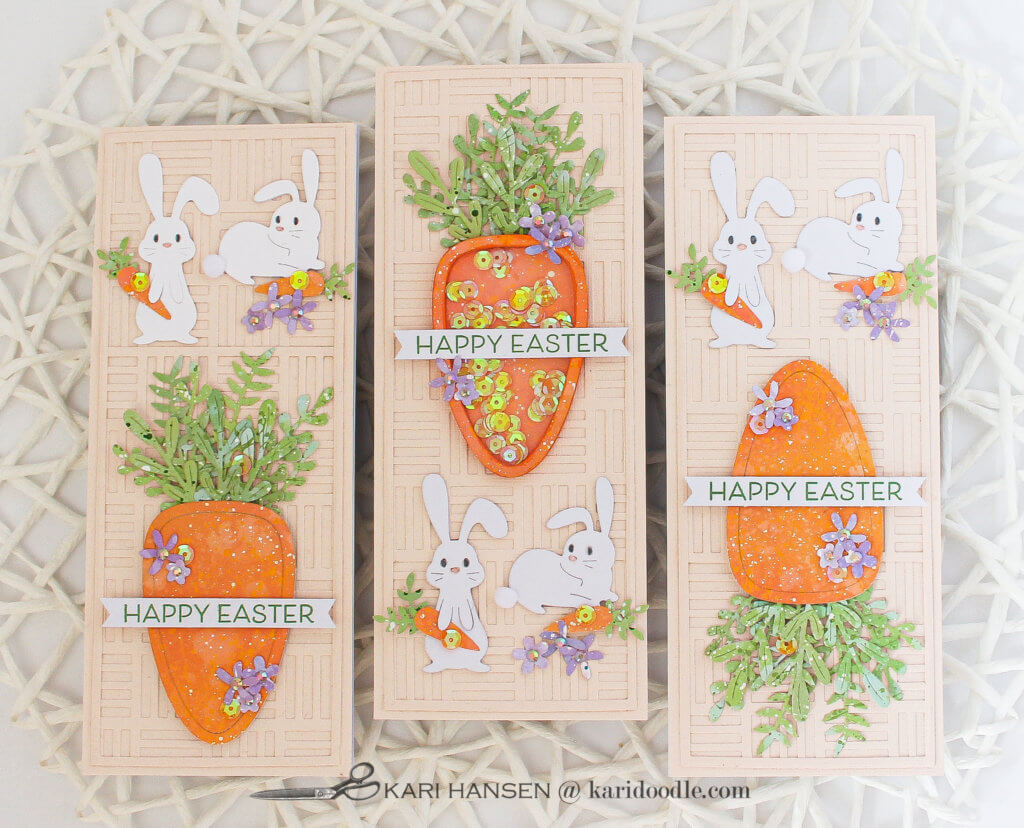
Inside: Create the ultimate bunny love Easter cards, complete with mega carrots, using a choice of three slimline compositions, including a shaker element. Bonus: how to hack an A2 cover die to fit a slimline card.
Disclosure: This article contains affiliate links. At no cost to you, purchases made through these links give me a small commission. Thank you for your support!
The ultimate Easter surprise for a little bunny? It’s not candy of any kind. It’s a sweet, crunchy, super-sized carrot.
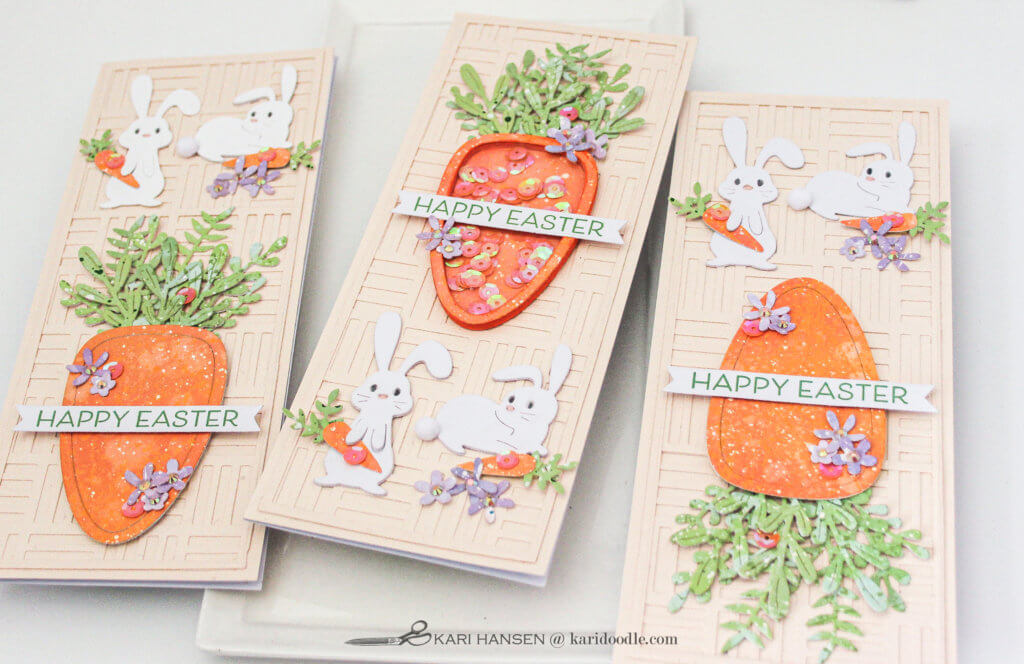
That’s the vibe I get from the 24 Carrot die set (Spellbinders), considering the carrot die is twice the size of the two bunny dies. Those little bunnies have gotten themselves a mega veggie treat! On this set of Easter cards, I play with that quirky scale within the dimensions of a slimline card (3.5 x 8.5”). I made three versions of a similar design, including one with a carrot-shaped shaker element.
In this post:
Cut Mega Carrots from Candy-Inspired Cardstock
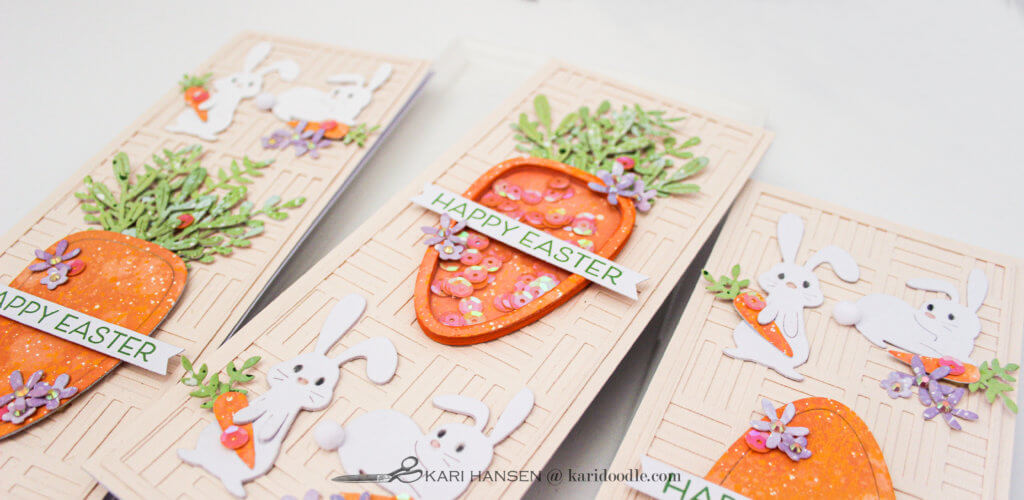
I was working on this set at the same time as the Easter cards I previously posted featuring baskets and bunnies. While the compositions and die set for each batch are different, I used the same technique to color the die cuts. Inspired by the speckled candy shell of malted milk chocolate eggs, I created colorful panels by blending Distress Oxide inks, then sprinkled on water droplets and finished with paint splatters.
Using this process, I made colored panels in carrot orange, lilac purple, and grass green. I used the dies to cut the large carrots, the green carrot-top sprigs, and tiny purple flowers. I made the bunnies out of plain white cardstock.
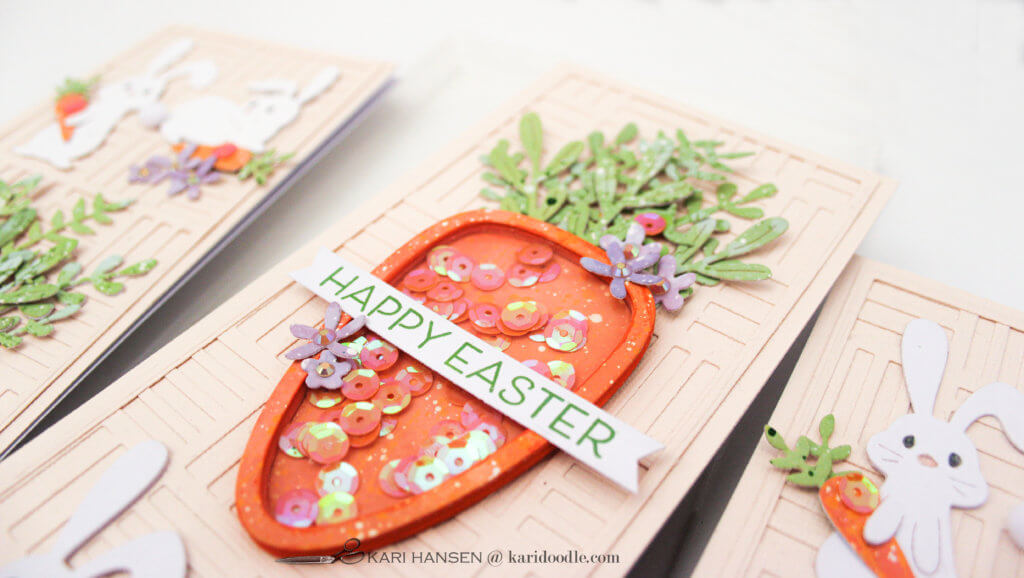
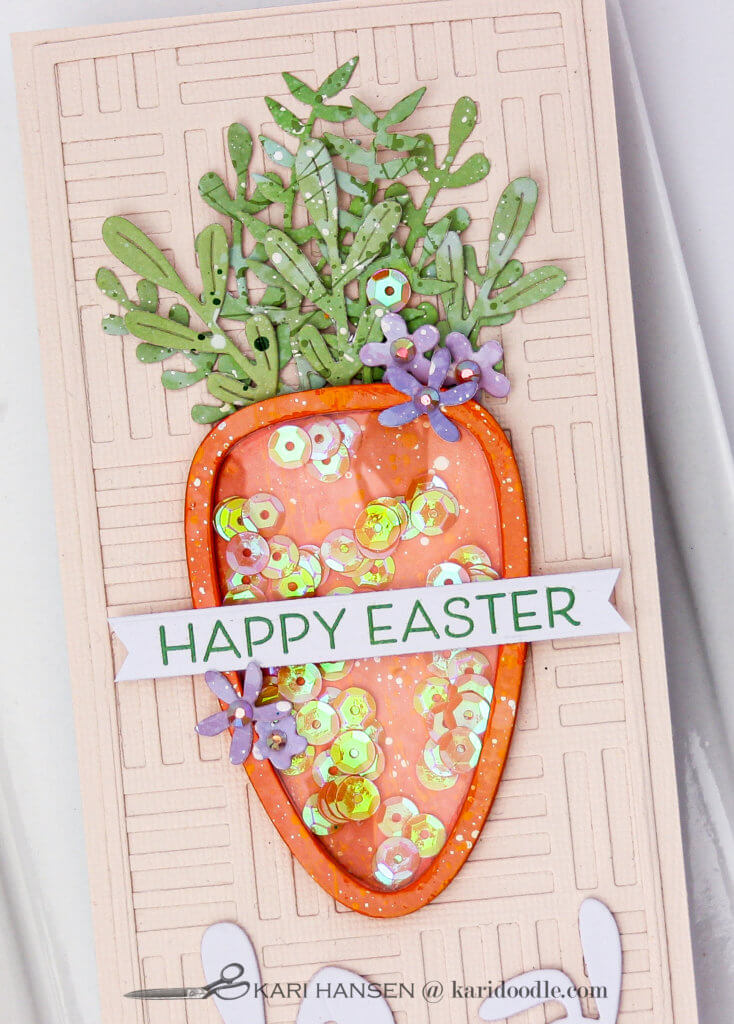
I turned one of the jumbo carrots into a shaker element. The die set is designed for this possibility, as the carrot die cuts both the frame and carrot body at the same time. You’ll find instructions for creating the carrot shaker later in this post.
Go to more Easter cards with speckled die cuts: How to Make Sweet Easter Cards with Candy Colored Bunnies
Rustle Up Rabbit-Sized Carrots Too
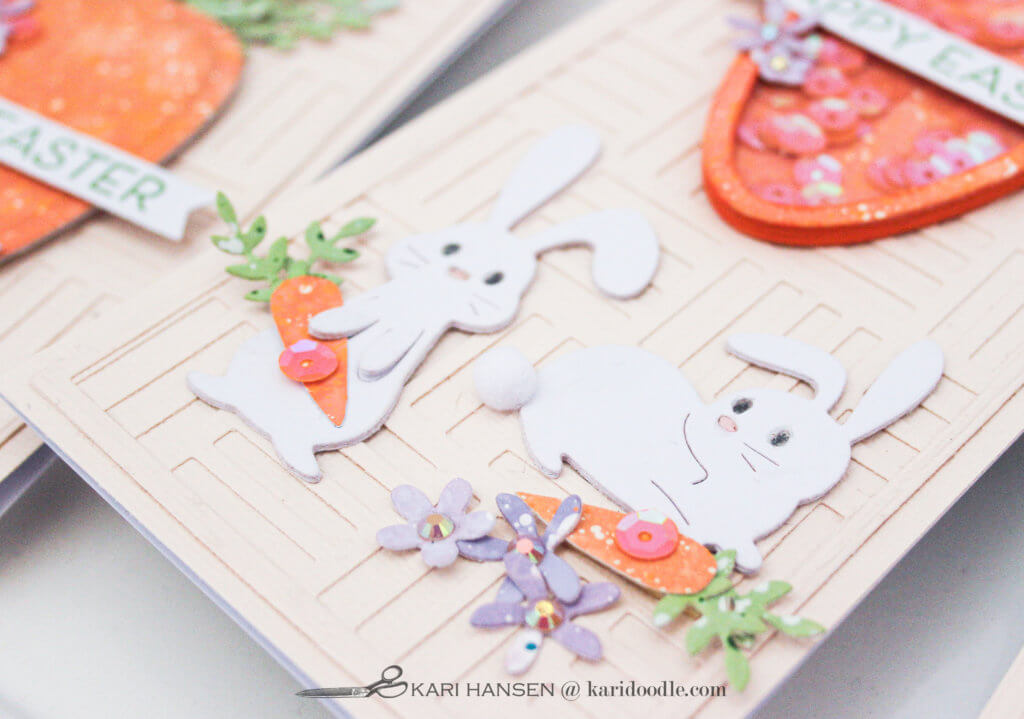
In addition to the jumbo carrot, I wanted my wee bunnies to have some little rabbit-sized carrots they could hold in their paws. To make them, I drew a carrot on heavy scrap cardstock, cut out the shape, and used it as a template. I traced the template multiple times on the back of the orange-inked panel and then cut the carrots out with fine-tip scissors. To finish the carrots, I used the small leaf sprig die to cut foliage from the green inked panel and then adhered two sprigs to each carrot top.
Hack an A2 Cover Die to Fit Slimline Size
I wanted to employ a tone-on-tone die-cut pattern for the background of my cards, but don’t have many cover plate dies in the slimline size. As a workaround, I adapted an A2 cover die (4.25 x 5.5”) to fit the slimline format (3.5 x 8.5”).
This hack works best with cover dies that contain a repeating pattern, which will enable two pieces to be spliced together for a seamless look. A plate with a large-scale design prohibits elongating the design in a continuous way.
Here’s how to adapt an A2 die plate to fill a slimline card:
- Die-cut the cover plate twice from the same color cardstock. Use lighter-weight cardstock for the best result, about #65. The seam will be less evident than if heavy-weight cardstock is used.
- Line the two pieces up, end-to-end, overlapping in a place where the pattern naturally repeats or otherwise creates a continuous look. To line up the pattern, the two pieces will likely be offset, depending on the die’s pattern, and repeat. This is not a problem if together the two pieces create a minimum area of about 3 x 8” when evenly trimmed.
- Trim the edges that will create the join, resulting in an overlap of about ¼ inch; this will create a narrow and less noticeable seam. Adhere together with liquid glue.
- Finish exterior edges of conjoined piece in one of two ways: (a) Adhere edge-to-edge on a same-size card base. (b) Frame the perimeter with a die-cut frame or border. Choose one of these methods, then trim the excess from the die-cut panel.
Triple the Carrot Crush
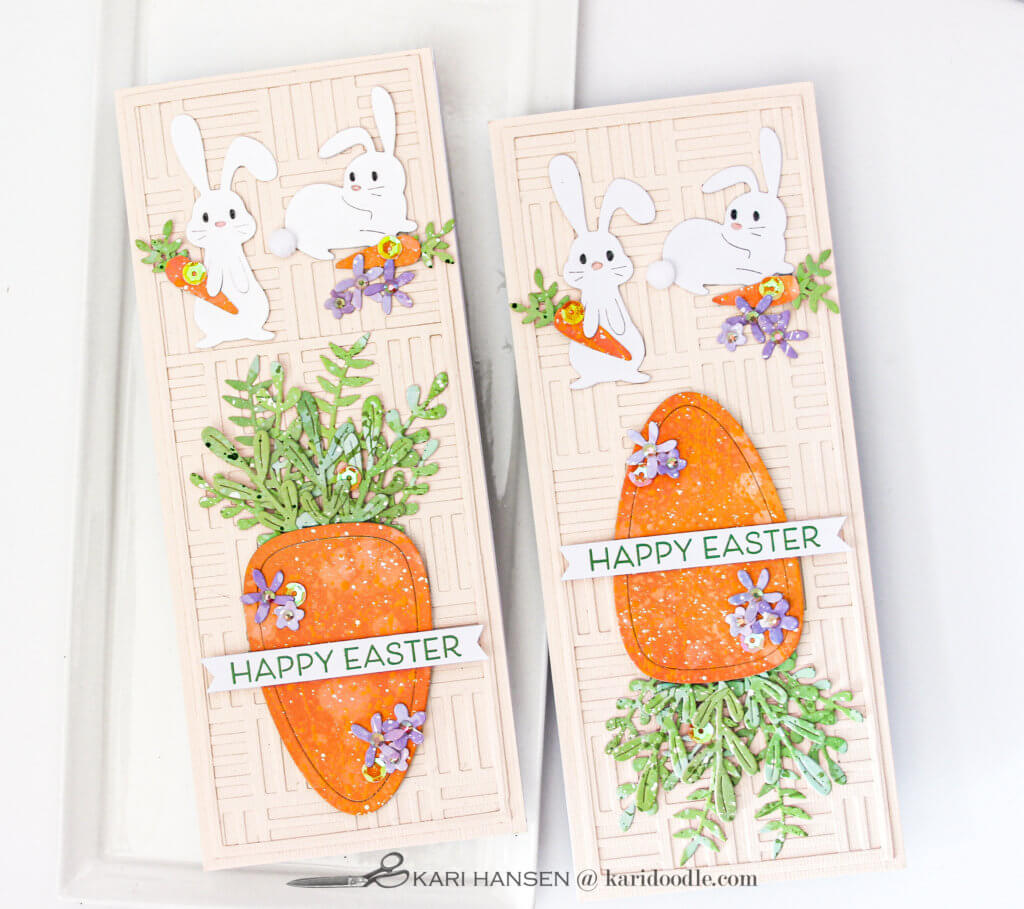
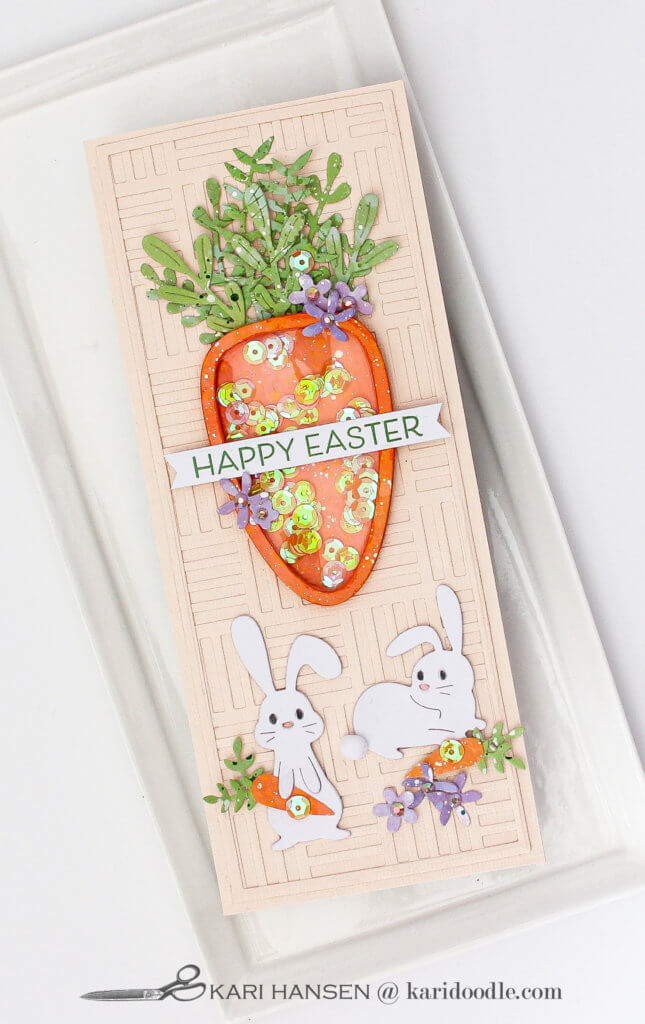
Once I had my background, bunnies, and carrots—both mini and mega kind– ready to go, I started placing the elements on slimline panels. I tried different arrangements, such as the giant carrot on the bottom half and the bunnies lounging at the top. Or turning the super-sized carrot with the greens facing downward. While I like how the space between the bunnies echoes the point of the carrot in the far right card pictured below, I was crushing on all the carrot designs, just like those lucky bunnies. Since I couldn’t pick a favorite, I made one card for each design variation.
Which of the three designs do you like the best?

Dress Up Die Cuts with Candy-Colored Ink
- On smooth white cardstock, use an ink-blending brush to make an all-over dappled color blend. For each panel, I used Distress Oxide inks in two monochromatic hues, such as Spiced Marmalade and Carved Pumpkin. Blend variegated areas of each ink throughout each panel for color variation. Repeat to create each color sheet; I made sheets in lilac, spring green, and carrot orange. See the supply list below for the specific ink colors I used.
- To create even more variation and texture on the inked panels, drop and spritz water onto the inked piece. Let sit for a few seconds, then soak up water with a paper towel.
- Splatter the background with drops of darker monochromatic colors, using watercolor paints, acrylic paints, or more Distress Oxide ink mixed with water. Finish with white splatters of watered-down acrylic paint. (I used a splat box for this step to contain the paint.)
- Once the panel is completely dry, die-cut various pieces from the 24 Carrot (Spellbinders) die set. I cut the large carrot from the orange sheet, leaf sprigs from the green, and small flowers from the lilac panel. I cut about nine large leaf sprigs to top each mega carrot, including a few using the large leaf sprig from the Basket Full of Bunnies (Spellbinders) die set.
- Assemble large carrots and adhere large leaf sprigs to carrot tops. I made one of my carrots a shaker by cutting extra frames from cardstock and adhering them together. I sprinkled orange sequins in the cavity, added a piece of die-cut acetate, and finished with the final frame. (Note: I cut the stacked pieces from white cardstock, but then painted the interior and exterior sides with orange acrylic paint because I didn’t like how the white looked after the stack was assembled. Avoid this issue altogether by cutting the stack pieces from orange cardstock!)
- Die-cut bunnies from white cardstock. (Optional: I backed most of my bunnies with a second layer of white cardstock for extra durability and dimension.) Complete the bunny faces with cardstock. Add Glossy Accents to eyes and noses; allow to dry.
- Use a remnant of an orange-inked panel to make little carrots for the bunnies to hold. To do this, I drew a carrot on heavy scrap cardstock, cut out the shape, and used it as a template. I traced the template on the back of the orange sheet and then cut the carrots out with fine-tip scissors. To finish the carrots, I used the small leaf sprig die to cut foliage from the green inked panel and then adhered two sprigs to each carrot top.
Find more hand-painted die cuts: How to Make Shimmery Die Cuts for Stunning Fall Cards
Stamp Sentiments and Assemble Cards
- To make the sentiment, prep white cardstock with anti-static powder. Stamp sentiment (Keep It Simple: Easter stamp set, Papertrey Ink) with Mowed Lawn Distress Oxide ink. Sprinkle on clear detail embossing powder, tap off the excess, and heat set the powder. Trim the sentiment with a strip die set (Everyday Sentiment Banners die set, Lawn Fawn) or your paper trimmer. Add foam adhesive to the back of the sentiment strip.
- Cut, score, and fold a slimline (3.5 x 8.5”) card base. Trim pale peach cardstock to the same size as the card base and adhere.
- Die-cut trellis or weave background panel (Two Way Street die, Spellbinders) from pale peach cardstock. I adapted an A2 cover die to slimline size (see above for instructions). Cut a thin frame from two nested slimline frame dies (Nesting Slim Layers die set, Waffle Flower). Adhere to the perimeter of the trellis piece and trim off excess. Adhere framed trellis piece to a card base, centering on all sides.
- Arrange bunnies, carrots, and sentiment strips on the trellis background. Adhere pieces in place with liquid glue or foam adhesive.
- Shape the flowers by placing them on a mouse pad, then pressing a ball stylus gently into the centers. Add Buttercream jewels (Pretty Pink Posh) to the flower centers. Embellish the card with lavender flowers and orange sequins. Finish with white pom-pom tails on the bunnies.
Supplies
- 24 Carrot die set | Spellbinders
- Basket Full of Bunnies die set | Spellbinders
- Two Way Street cover die | Spellbinders
- Nesting Slim Layers die set | Waffle Flower
- Everyday Sentiment Banners die set | Lawn Fawn
- Keep It Simple: Easter stamp set | Papertrey Ink
- Distress Oxide inks: Carved Pumpkin, Spiced Marmalade (orange panel); Seedless Preserves, Victorian Velvet (purple panel); Bundled Sage, Mowed Lawn, Shabby Shutters (green panel) | Tim Holtz for Ranger
- Gansai Tambi watercolor set | Kuretake
- White cardstock #110 | Neena Solar White Classic Crest
- Various cardstock: pale peach, pink, black
- Orange and White acrylic craft paint
- Clear acetate
- Glossy Accents | Ranger
- Clear detail embossing powder | Ranger
- Buttercream jewels | Pretty Pink Posh
- Sequins rainbow iridescent
- White mini pom poms
Tools & Adhesive
- Platinum 6 die cutting machine | Spellbinders
- Misti stamping platform | My Sweet Petunia
- Water Media Mat | Waffle Flower
- Paper trimmer | Tonic
- Blending brushes | Taylored Expressions
- Heat tool | Wagner
- Scoring board
- Teflon bone folder
- Jewel picker | Katana
- T-square ruler
- Anti-static powder tool | EK Success
- Splat box | Tim Holtz for Stampers Anonymous
- Black Velvet watercolor brushes, round #4, 8, 12 | Silver
- Twist-Erase 0.5 mechanical pencil | Pentel
- Small fine-tipped scissors | EK Success
- Distress Sprayer | Tim Holtz for Ranger
- Ball stylus
- Kushgrip 8.5” scissors | Tonic
- Precision Craft Glue | Bearly Art
- Foam adhesive | Scotch 3M
