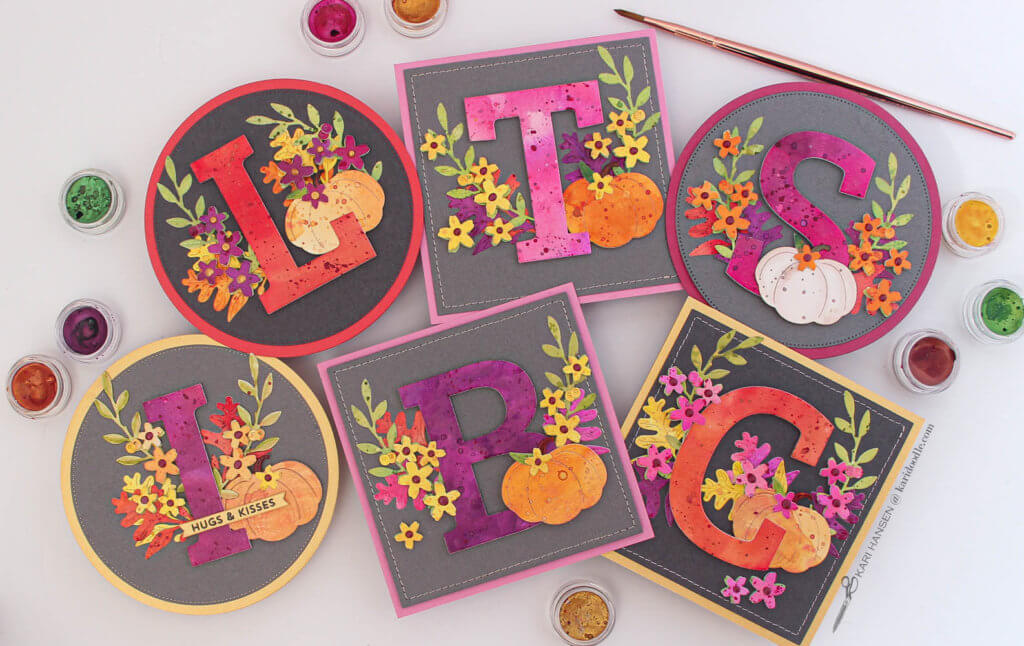
Inside: Step-by-step instructions to craft gorgeous monogram cards with metallic watercolor paints and fall foliage die cuts, including monogram design tips.
Start with a detailed floral die set. Mix together with rich glimmering color. And finally, stir in a generous dash of 9th-century Irish monks.
That’s my recipe for making beautiful monogram cards with eye-catching design and vibrant color. Read on to learn how you too can craft personalized monograms for special people in your life.
Just don’t forget the monks.
In this post:
Find Inspiration in Old World Illustrations
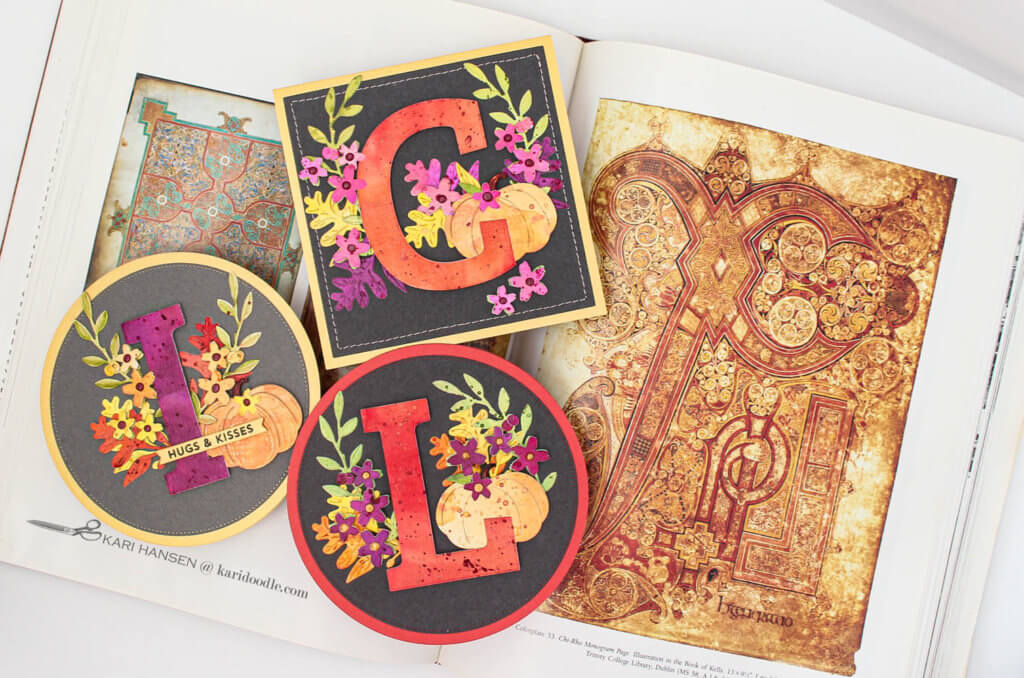
These monogram cards are a modern, simplified take on medieval illuminated letters. An illuminated letter is an enlarged initial, embellished and surrounded by plant, animal, and decorative motifs. Illuminated letters were placed at the beginning of a page or paragraph in an illustrated manuscript, a precursor to the modern-day drop cap. The most well-known and glorious example of this kind of manuscript is the Book of Kells (c. 800 AD).
Which brings us to the aforementioned monks. Those devout dudes painstakingly illustrated the Book of Kells while protecting the manuscript from centuries of pillaging Vikings. This masterwork is considered the pinnacle of medieval Celtic art.
Wikipedia notes that the book’s decorations and illuminated initials are “famous for combining intricate detail with bold and energetic compositions.” The same could be said of my monograms, as they echo the luminous color, delicate details, and striking composition of the medieval artwork — but in a contemporary, streamlined way. The small flowers and leaves, along with the shimmering watercolors, create a lush arrangement around the monogram.
Doodler Tip: Enjoy a dramatic retelling of the story of the Book of Kells and the monks that created it in the fabulous family film The Secret of the Kells. This Irish-made film’s animation style was inspired by the illuminated artwork of the Book of Kells.
Illuminate Custom Monograms for Special Recipients
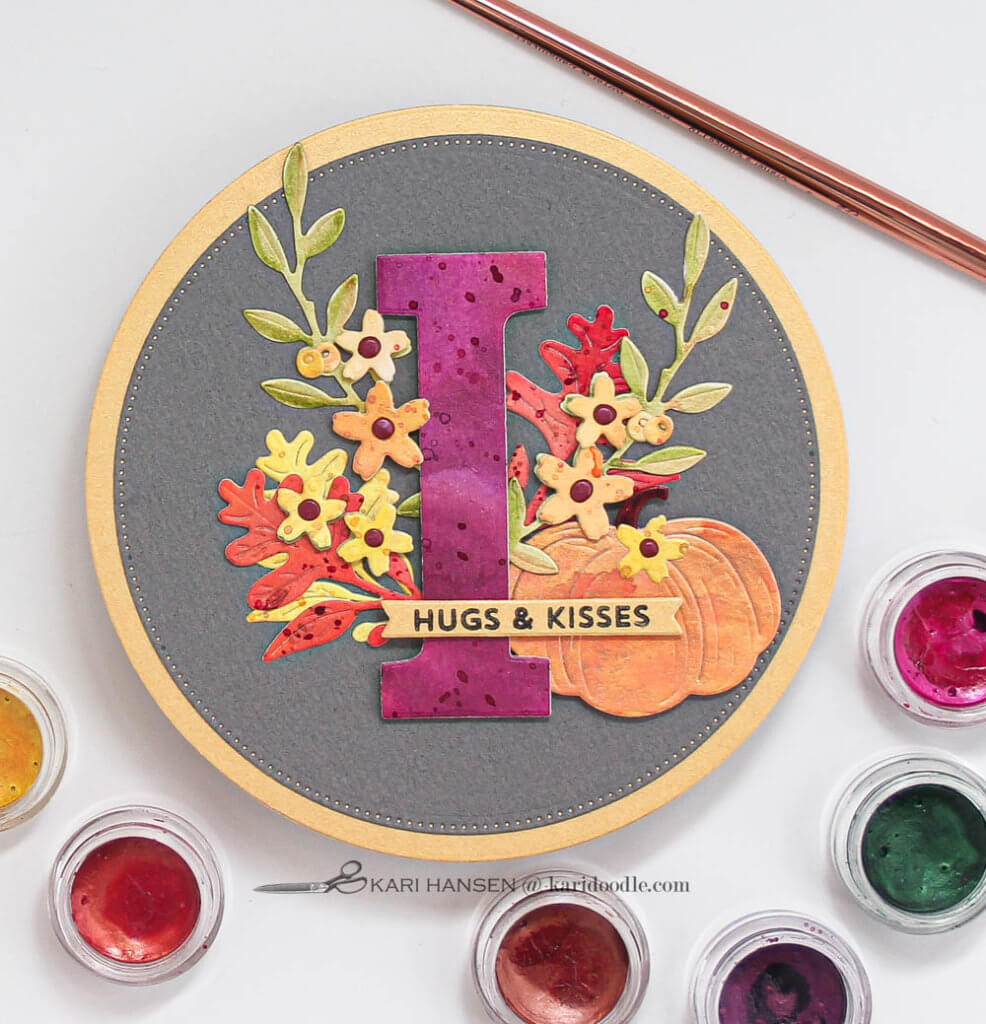
While I was making fall-themed cards using the Fall Flora die set from Spellbinders, I wanted to make a special card for my grandmother’s November birthday. What better way to personalize a card than with a monogram?
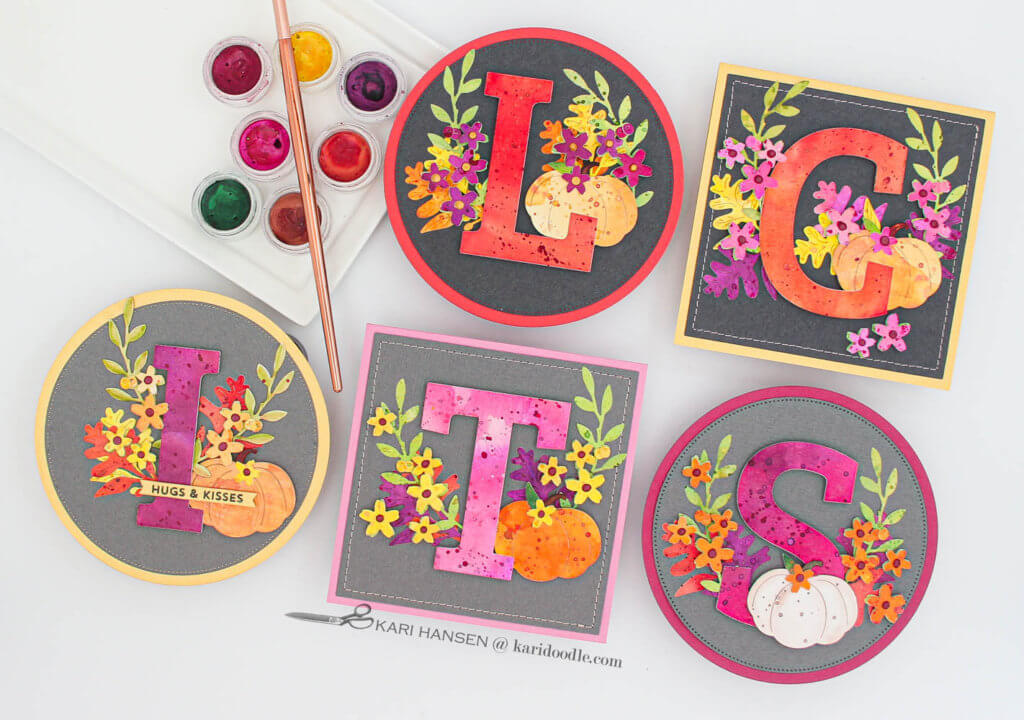
I combined the fall foliage and a pumpkin with a large monogram, taking inspiration from traditional illuminated letters. I loved how that card turned out and I wanted to make more! Since my calendar contains a slew of fall birthdays, I made five more autumn monogram cards in addition to the first.
I varied the color schemes and card format among the six monogram cards, but the construction process is essentially the same for all.
Brush on Shimmer with Metallic Watercolors
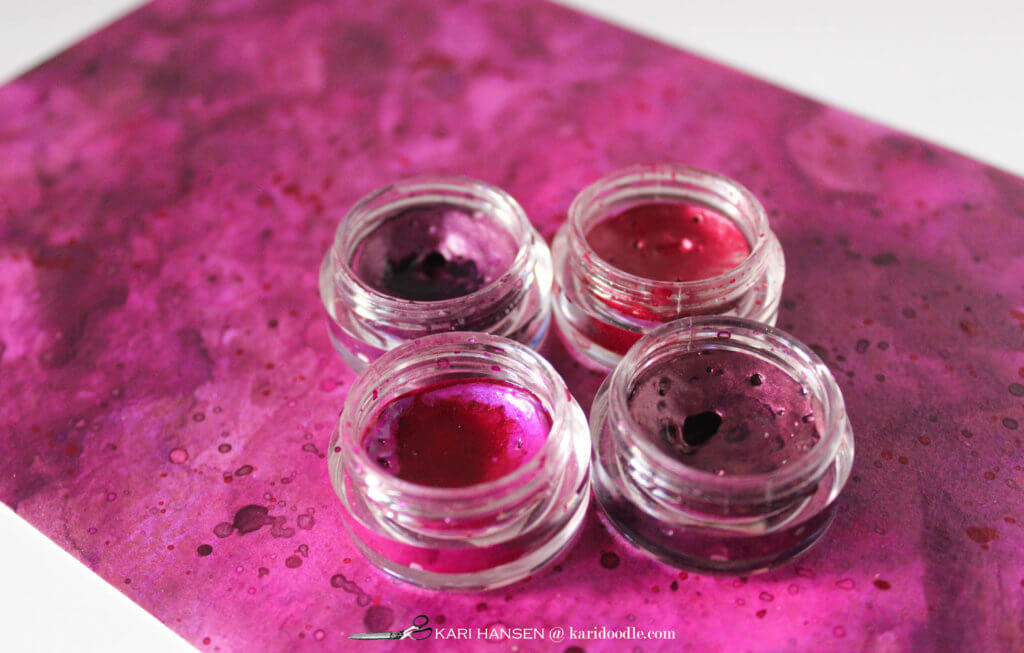
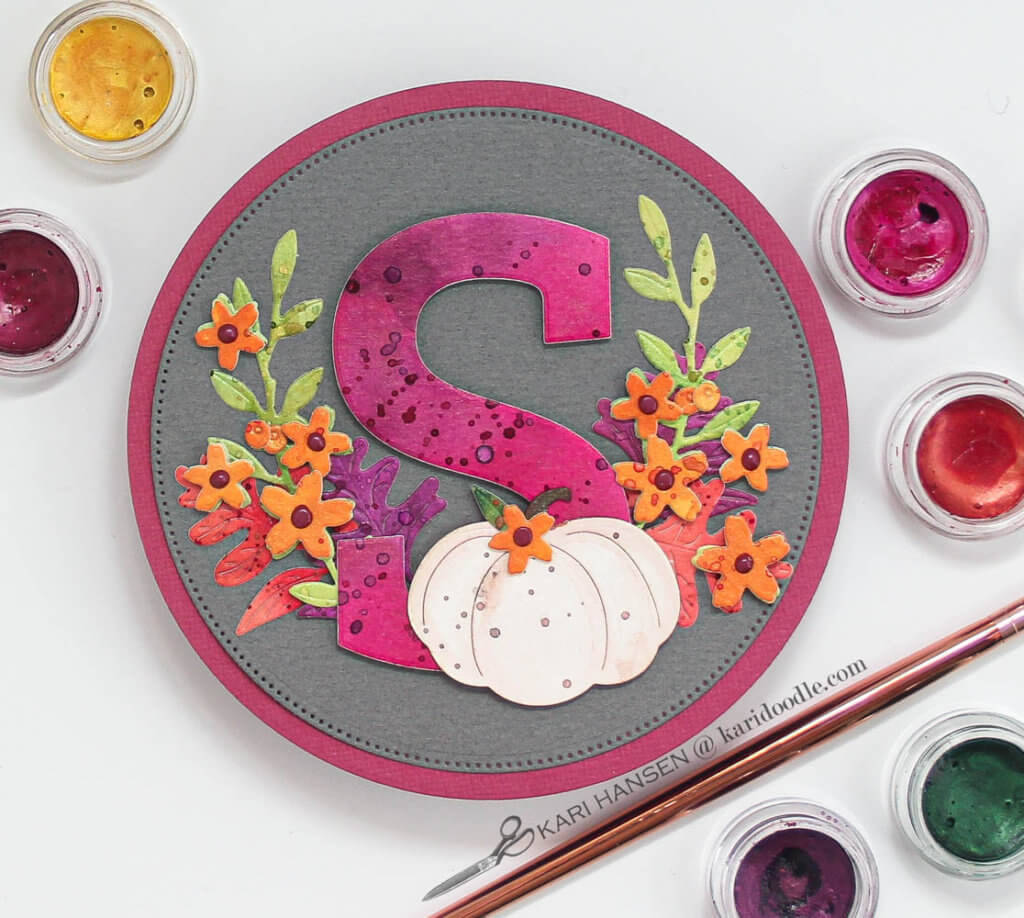
I created the vibrant, shimmering florals, pumpkins, and oversized initials using metallic watercolor paints. I used Twinkling H20 paints, a watercolor formula that contains mica powder and rich pigments. These paints create vivid colors with a glimmering iridescent finish.
Read more about Twinkling H20s: How to Make Shimmery Die Cuts for Stunning Fall Cards
In addition to Twinkling H2Os, here are similar watercolor sets with mica shimmer and metallic shine:
- Paul Rubens Sparkle Watercolor Paints, set of 24
- Altenew Metallic watercolors, set of 14
- Prima Metallic Accents, set of 12
- Prima Metallic Accents Pastels, set of 12
- Finetec Pearlescent Watercolors, set of 24
Paint a Splendid Fall Palette
When using watercolors on small die cuts, I find it easier to watercolor the paper first and then die-cut the shapes rather than paint each piece individually after cutting.
To make watercolor sheets:
- Secure a piece of watercolor paper to a hardboard with painter’s tape. I usually use sheets about 6 x 9” that I’ve cut down from a 9 x 12” pad.
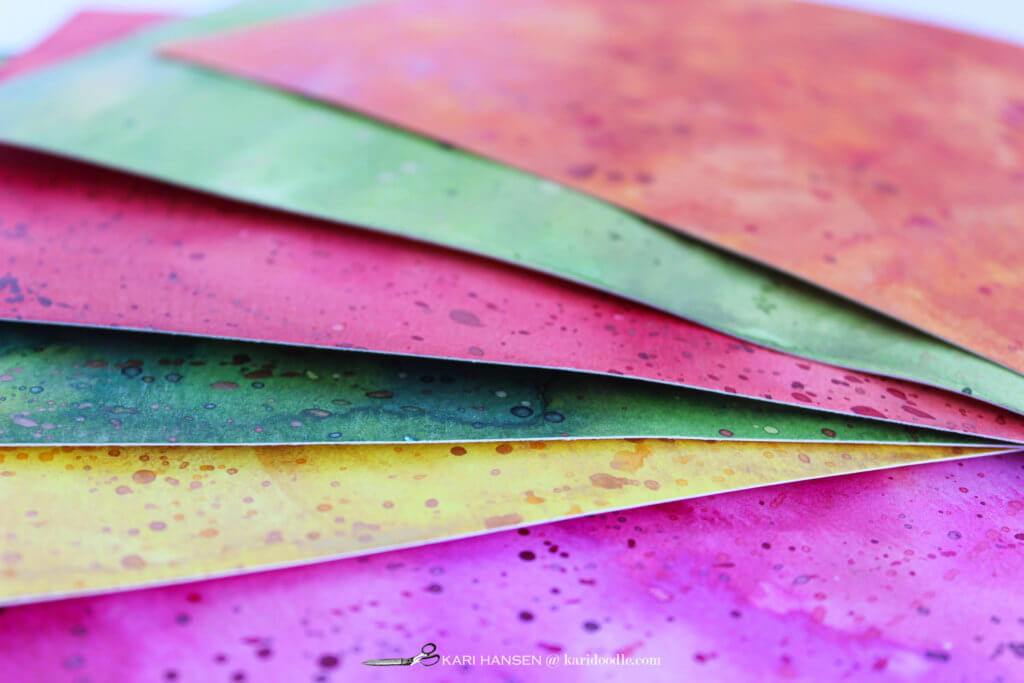
- Using a wide, flat watercolor brush, apply clear water to the entire paper. Randomly dab and stroke variations of the same color family of watercolor paint throughout the wet paper, letting colors meld and overlap. For example, on my green piece I used olive, moss, peridot, and forest green paints. Allow to air dry or use a heat tool to dry completely.
- Layer addition sheer washes in the same color family, maintaining variations of lighter and darker areas of color on the sheet. Dry completely and repeat if desired.
- Splatter several colors on the finished sheet, using the same color family and slight variations. In addition to greens, I splattered a bit of gold and brown on my green sheet. Allow to dry completely.
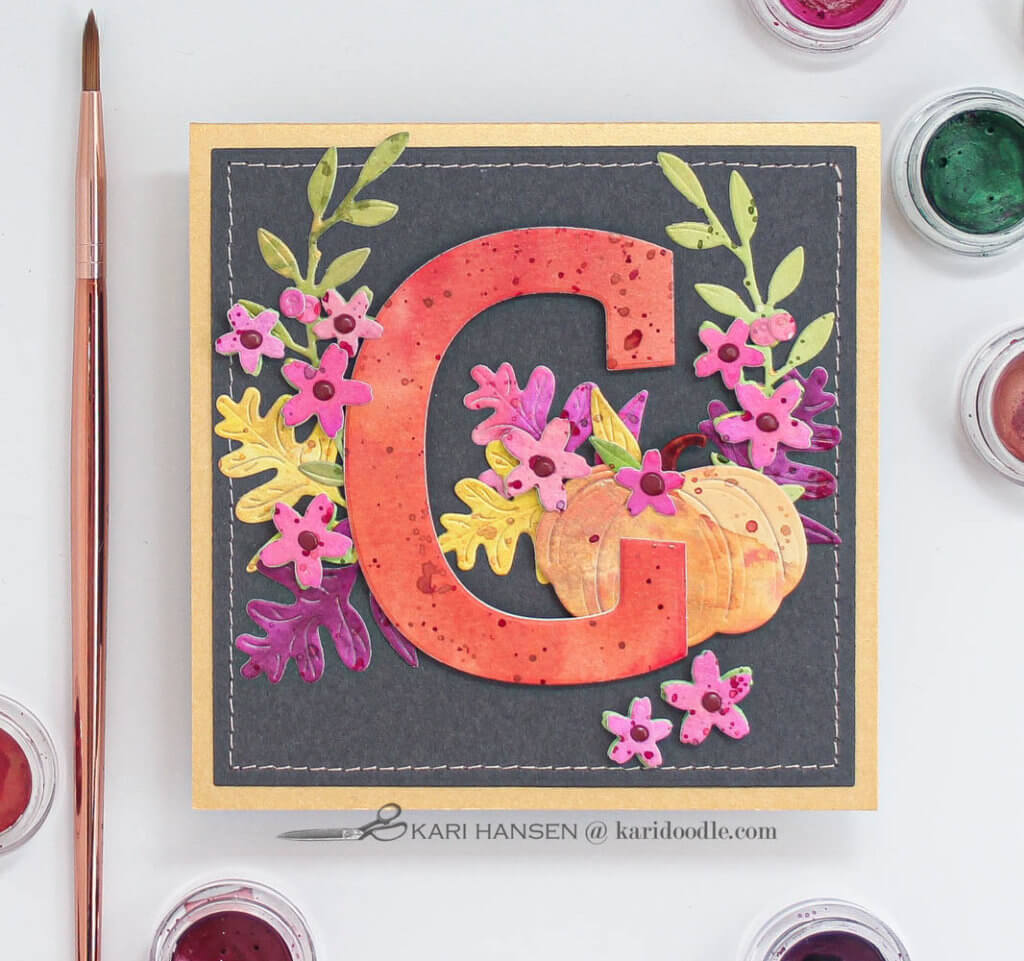
My finished watercolor sheets are a rich autumnal palette of saffron gold, ripe pumpkin orange, and flaming scarlets. To complement those tones, I also made sheets of raspberry pink and aubergine purple. This saturated, jewel-toned color scheme is well-suited to the Fall Flora die set (Spellbinders).
Arrange Autumnal Letters and Folliage
I die-cut a variety of autumn leaves, tiny flowers, and curving tendrils from the watercolor sheets. I also die-cut a batch of pumpkins in orange and white, then painted the stems brown. I used foam tape to pop-up the little flowers on the tendrils and then used Nuvo Drops for the flower centers.
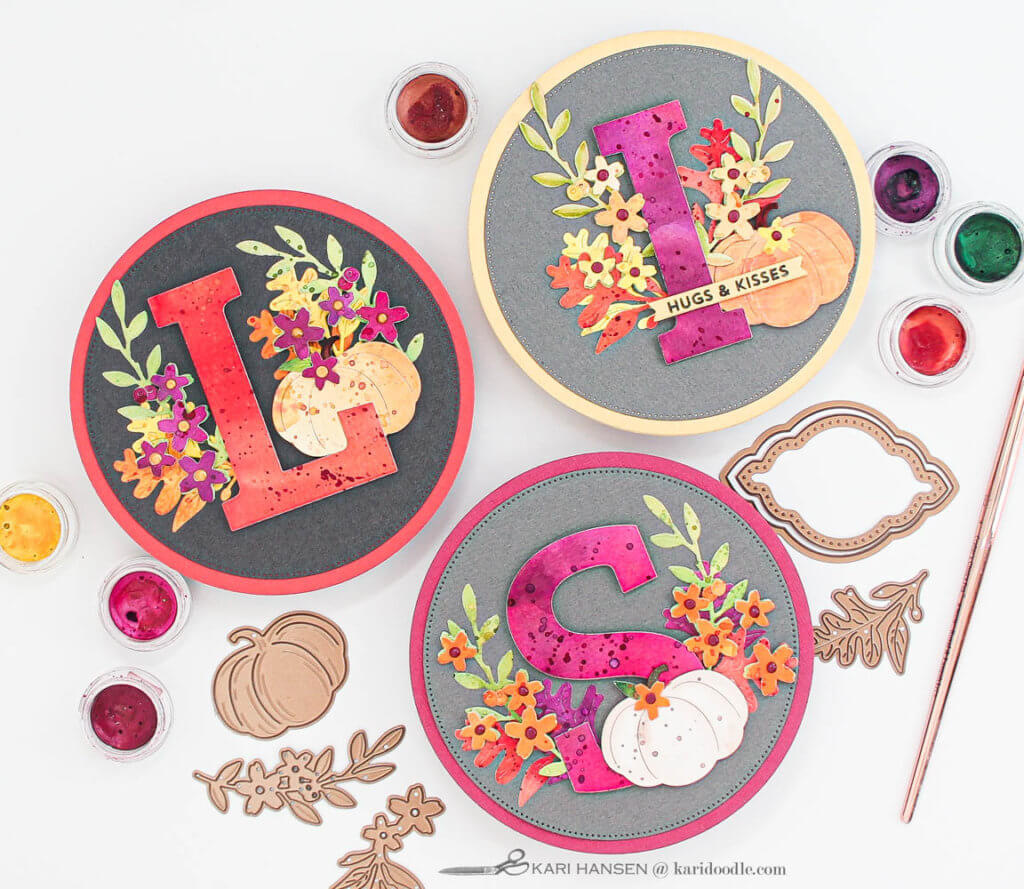
To make the first monogram, I cut the letter I (for Irene) from a purple watercolor sheet. Later, I cut more letters from pink and orange sheets for the additional monograms. I used the Mega Alphabet dies from Altenew, a set that cuts 3” high capital letters in a classic serif font. The scale of these letters works perfectly with the pumpkins and foliage. (An electronic cutting machine could also be used to cut the monograms.)
Construct Uniquely Shaped Card Bases
Round Cards
To make each circular card base, die-cut two 5” round pieces from cardstock using a circle die nesting set. On one piece, use a scoring board and bone folder to make a crease about .35” from the edge. Attach the narrow side of the fold to the back of the remaining piece, with liquid glue, to create a hinged round card.
To create the monogram’s backdrop, cut a piece of grey cardstock into a 4.5” circle using a pierced circle die set.
Doodle Tip: When placing elements on the front of a round card, it can be challenging to keep a dead-center axis. Who wants the front panel to look askew when the card is opened? Not me! To help you keep it straight, place a piece of low-tack tape at the top back of your round card, parallel with the crease line. Then fold the tape over to the front, creating a temporary top-horizontal guide. Remove the tape once you’re done assembling the card.
Square Cards
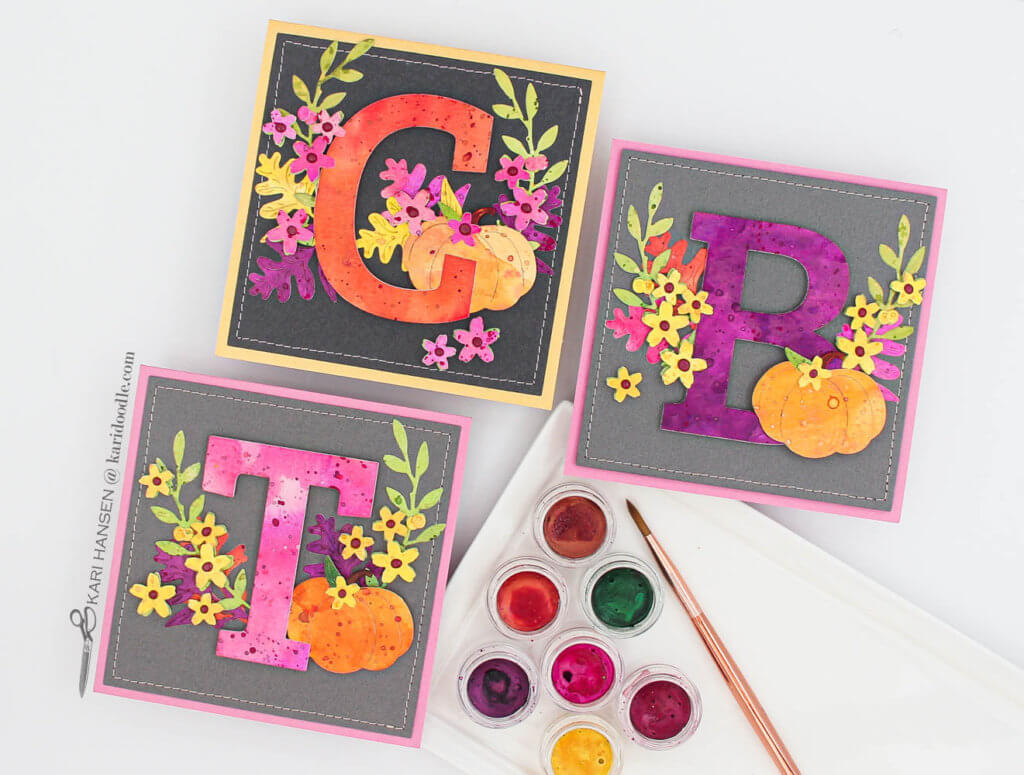
To make the square cards, trim cardstock to 4.75 x 9.5”. Score and fold for a finished cards size of 4.75” square. Next, cut a 4.5” square from grey cardstock. Machine-stitch around all the edges and adhere the grey square to the card base.
How to Design a Die-Cut Floral Monogram
Here’s a step-by-step guide to make your own beautiful monograms using seasonal flora, including tips and tricks to get the best results:
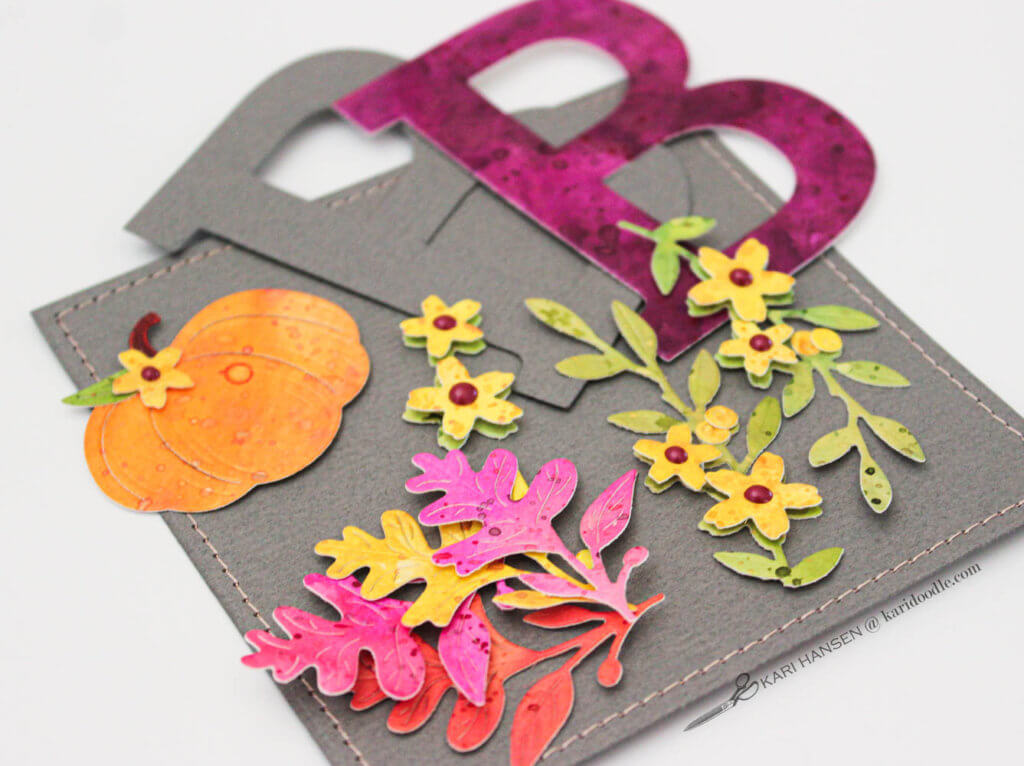
- After you’ve die-cut the watercolor monogram, cut an additional letter from the same cardstock as the card background. This echo letter will help you to plan out and place the floral elements on the card.
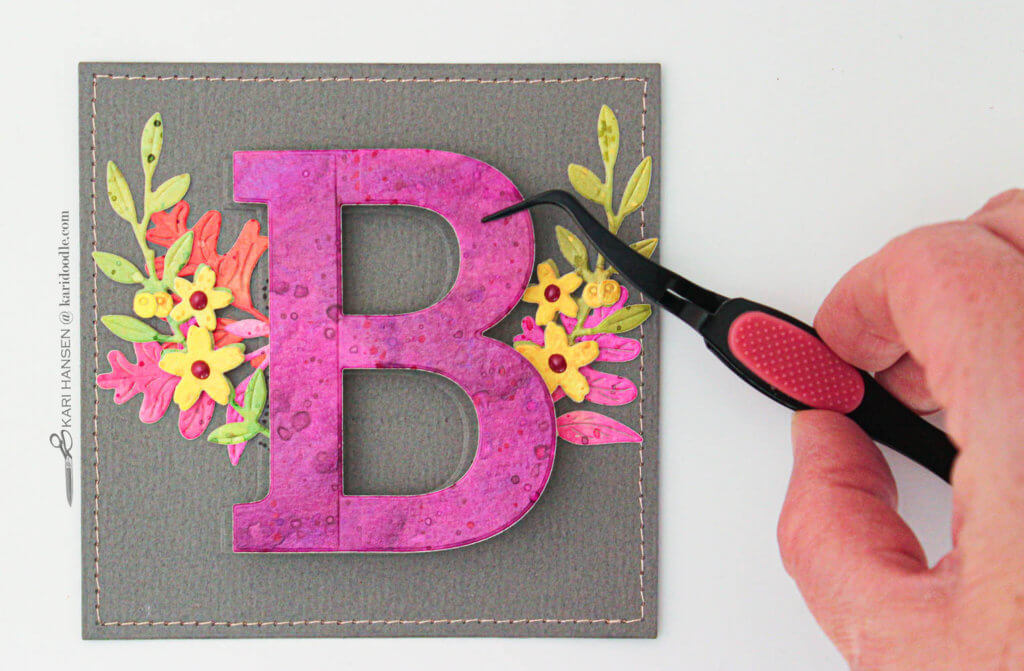
- Adhere the echo letter to the center of the card background. Without adhesive, arrange the pumpkin, tendrils, and leaves around the letter. Use the echo letter as a guide to see exactly where you want to tuck the flora stems under the watercolor letter.
- Using tweezers, hold the watercolor letter over the arrangement to check the composition. Test how the pumpkin looks when overlapping and underlapping the watercolor letter. An overlapping pumpkin makes some letters hard to read, as seen on my C, I, and L monograms. For these, I nestled the pumpkin under the letter instead of overlapping it.
- Once you’re happy with the arrangement, it’s time to start adhering the flora in place. Make this easier by taking a photo of the arrangement with your phone and make alignment marks on the echo letter.
- Adhere the flora directly to and around the echo letter with liquid adhesive, and then pop up your pumpkin if desired. Finally, place the watercolor monogram directly over the echo letter using foam adhesive.
Doodle Tip: When arranging the foliage around the monogram letter, structure the design by placing the flora in a laurel-wreath shape, curving upwards from each side of the monogram. This horseshoe-shaped formation provides a pleasing aesthetic while also grounding the florals within the composition.
Find inspiration for even more fall-themed cards using Twinkling H2Os metallic watercolor: How to Make Shimmery Die Cuts for Stunning Fall Cards
Make Monk-tastic Monograms for All Seasons
While these monograms are resplendent with fall foliage, this basic floral monogram design can be easily adapted to other seasons, themes, and color palettes.
For example, the Bonjour (Spellbinders) or Spring Sprig (Lawn Fawn) die sets would suit spring initials. The Flowers & Bee (Karen Burniston) or Floral Swag (Carta Bella) die sets would be sweet for summer monograms. And how awesome would a holly, poinsettia, or snowflake monogram be for a winter birthday monogram? You can craft four seasons of illuminated monograms, so lovely that even an old hermit monk would be pleased to receive one on his birthday.

Supplies
- Twinkling H2O sparkling watercolor paints
- Fall Flora die set, Spellbinders
- Mega Alphabet dies, Altenew
- Circle nesting dies, We R Memory Keepers
- Circles Dotted nesting dies
- Sentiment strip die set, Pink & Main
- From the Heart stamp set, My Favorite Things
- Similar: Little Love Notes stamp set, My Favorite Things
- Pearlescent yellow cardstock
- Grey, pink, dark orange, and raspberry cardstock
- Watercolor paper, cold press, Canson XL
- Nuvo crystal drops, Tonic: Antique Rose, Autumn Red
- Obsidian Amalgam ink, Gina K.
- Thread medium/dark ecru 943-1054, Sulky
Tools & Adhesives
- Die-cutting machine, Spellbinders Platinum 6
- Misti stamping platform, My Sweet Petunia
- Scoring board
- Teflon bone folder
- Heat tool, Wagner
- Tweezers
- Small fine-tipped scissors, EK Success
- Sewing machine
- Paper trimmer, Tonic
- Watercolor brushes: flat and round set of 7 in case
- T-square ruler
- Hardboard
- Precision Craft Glue, Bearly Art
- Foam adhesive, Scotch 3M
- Painter’s Tape
