Inside: Learn how to create die cuts with vibrant shimmer using metallic watercolors for radiant fall foliage cards, with watercolor tips and ten card ideas.
A glint of silver. A hint of metal edge. Glimpsed at the back of a high shelf.
As I shift through drab cardboard boxes on the storage shelves, that shiny metal container at the back evokes a flash of fond familiar. Like seeing a long-lost friend out of the corner of my eye, my heart jumps in recognition before my brain catches up with identity.
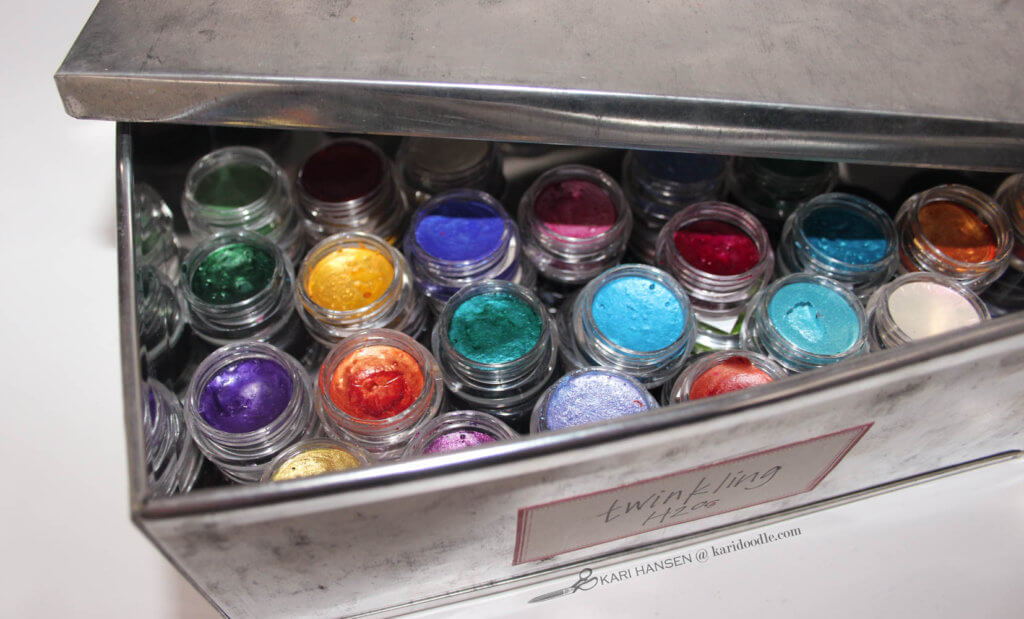
I lift the lid of the silver tin to find a crowd of vibrant orbs blinking up at me.
Oh hello, old friends. It took seeing you again to realize how much I missed you.
And I had missed them, these glimmering little pots of watercolor. These winking, Twinkling H2Os.
In this post:
Meet the Littlest Watercolors with the Biggest Shimmer
Formulated by artist/inventor Leslie Ohnstad, Twinkling H20s were first produced in 2003 by LuminArte. The paints are now distributed through Leslie’s ColourArte website, in over 200 colors. After 17 years, the paints are still handmade with green technology and with no fillers or stabilizers.
The ColourArte website explains: “Twinkling H20s iridescent watercolors are created with our proprietary blend of mica and other minerals that transmit brilliant refractive light and color…Each color is hand formulated offering a unique brilliance and clarity other watercolors simply cannot compare.”
The watercolors are hand-poured into little pots with screw-top lids. They come in two sizes, 5ml and 10ml, and are available in sets or individually on ColourArte and Etsy. I have about 80 colors in the 5ml size, which have lasted forever.
Amp Up Your Watercoloring with Radiant Sparkle
It seems to me that Twinkling H2os were a bit ahead of their time when they debuted in 2003. At the time, watercolor was not a widely embraced medium among papercrafters. But with the current watercolor craze in crafting, it’s the perfect time to get familiar with these little jewels!
In addition to Twinkling H20s, there are many other sparkly, metallic watercolor sets now on the market. While each product will behave differently depending on its formula, they will all provide beautiful luminosity to watercolor projects.
Twinkling H2os come in the tiny pots, while most comparable sets come in traditional pans, housed in a lidded case. I don’t mind the individual pots, but they can be a bit fussy and not to everyone’s liking.
For similar watercolor sets with mica shimmer, check out these products:
- Paul Rubens Sparkle Watercolor Paints, set of 24
- Altenew Metallic watercolors, set of 14
- Prima Metallic Accents, set of 12
- Prima Metallic Accents Pastels, set of 12
- Finetec Pearlescent Watercolors, set of 24
Give Die Cuts Glorious Glow
I tried Twinkling H2Os soon after their debut in 2003. I was an immediate convert and enjoyed using them to paint stamped images.
When we moved house, my silver tin of paints ended up in storage. Hidden away for years, I was thrilled to stumble upon them again. After getting reacquainted through a few painting projects, I wanted to test them out with die cuts.
To get started, I made a series of watercolor sheets. When using watercolors on small die cuts, I find it easier to watercolor the paper first and then die-cut the shapes rather than paint each piece individually after cutting.
To make watercolor sheets:
- Secure a piece of watercolor paper to a hardboard with painter’s tape. I usually use sheets about 6 x 9”.
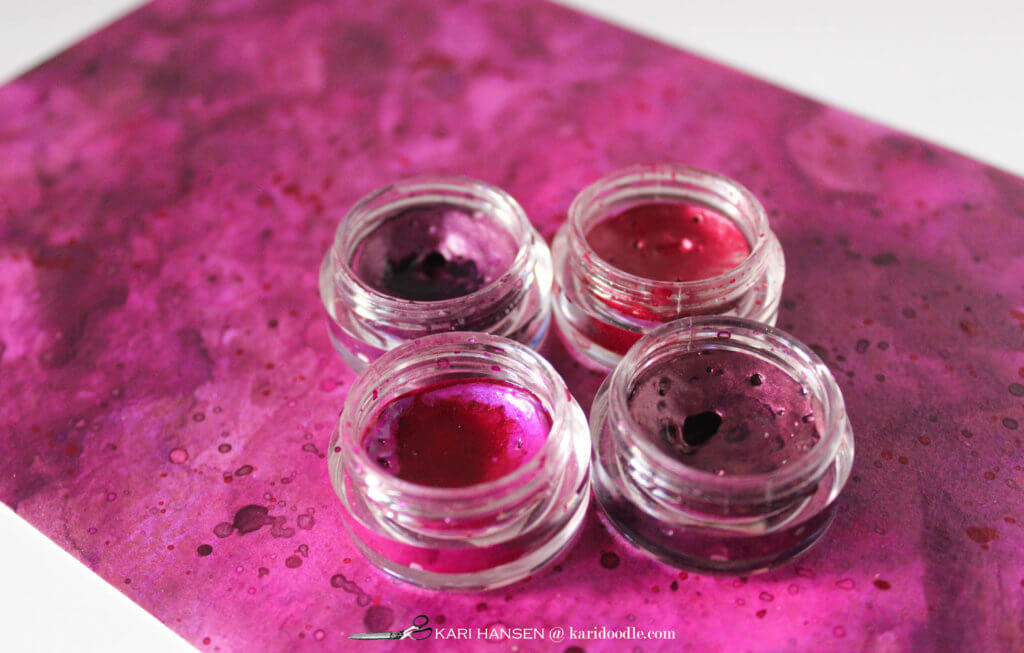
- Using a wide flat watercolor brush, apply clear water to entire paper. Randomly dab and stroke variations of the same color family of watercolor paint throughout the wet paper, letting colors meld and overlap. For example, on my green sheet I used olive, moss, peridot, and forest green paints. Allow to air dry or use a heat tool to dry completely.
- Layer addition sheer washes in same color family, maintaining variations of lighter and darker areas of color on the sheet. Dry completely and repeat if desired.
- Splatter several colors of paint on finished sheet, using same color family and slight variations. In addition to greens, I splattered a bit of gold and brown on my green sheet. Allow to dry completely.
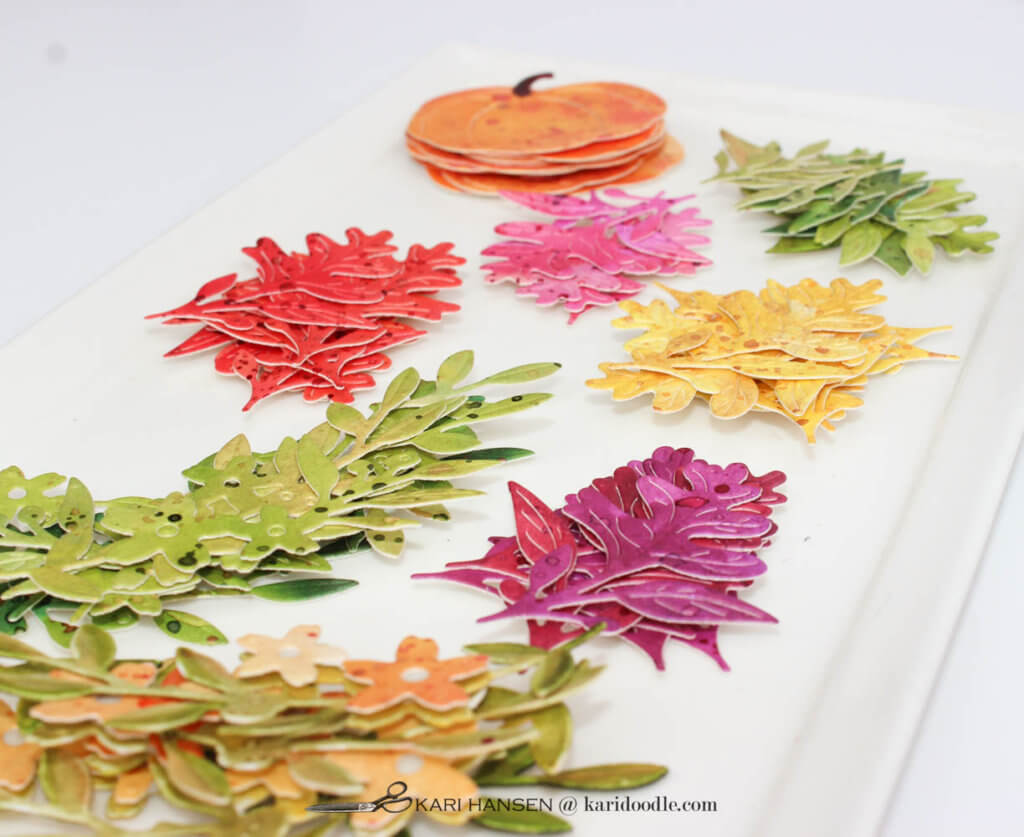
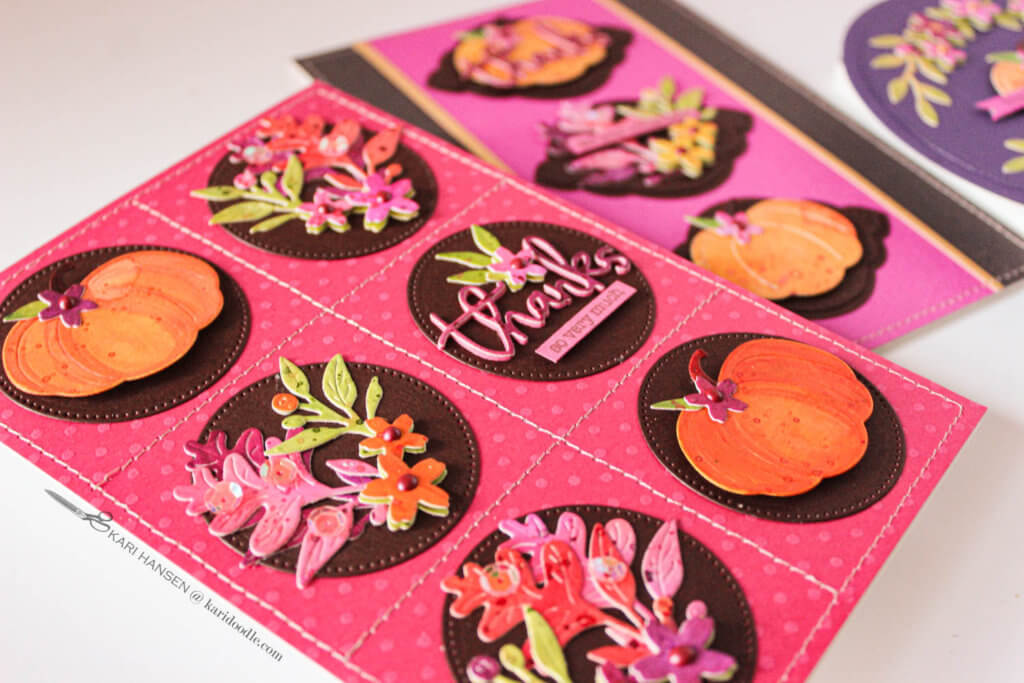
My finished watercolor sheets were a rich fall palette of saffron gold, ripe pumpkin orange, and flaming scarlets. The saturated colors lent themselves well to the lush autumn color scheme I paired with the Fall Flora die set from Spellbinders.
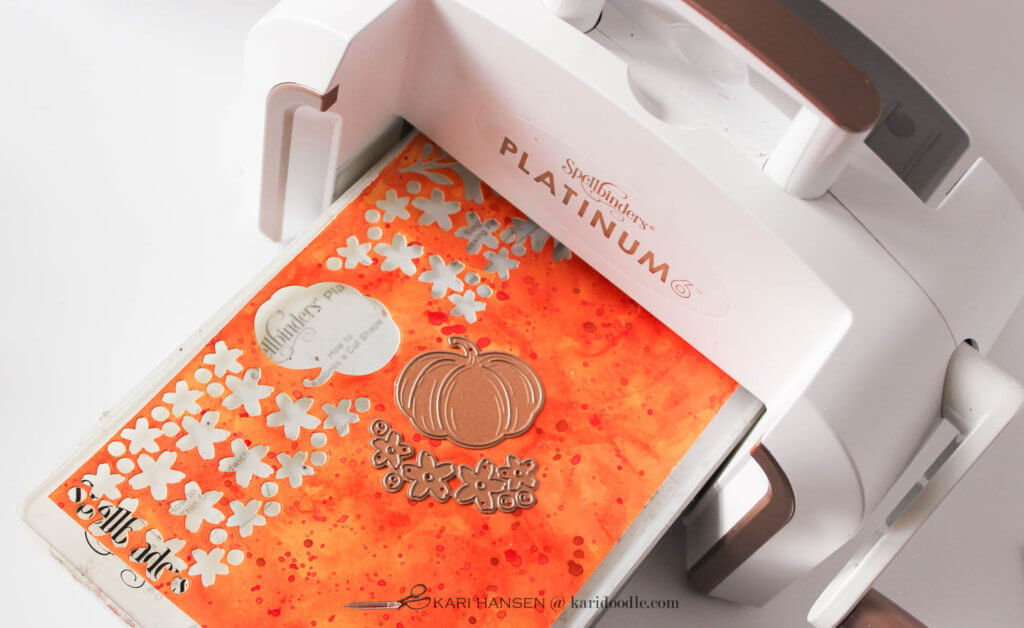
I die-cut a variety of autumn leaves, tiny flowers, and curving tendrils. I then die-cut a batch of pumpkins. I also made a few white pumpkins for good measure, then painted all the pumpkin stems brown.
The photographs don’t do justice to the glimmer and glow of these paints!
Gather Luminous Autumn Leaves onto Fall-Themed Cards
The Fall Flora die cut set lends itself perfectly to creating leaf clusters, wreaths, and floral flourishes to gather around the pumpkins. Once all the pieces were die-cut, I assembled them onto cards in a range of shapes and sizes. I used foam tape to pop-up the little flowers on the tendrils and then used Nuvo Drops for the flower centers.
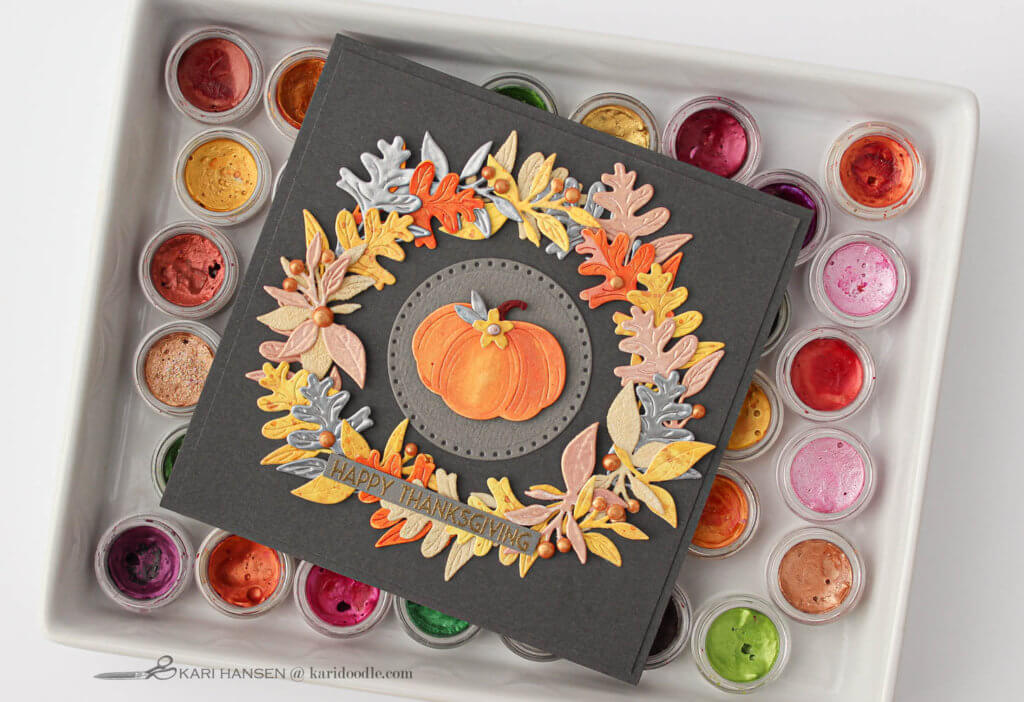
Grey & Yellow Square Thanksgiving Card: I cut additional leaves from white cardstock and covered them with two layers of embossing powder in rose gold, platinum, and glittery gold. I arranged the leaves into a wreath around a central pumpkin and added a Happy Thanksgiving sentiment. Finished card size: 6 x 6”.
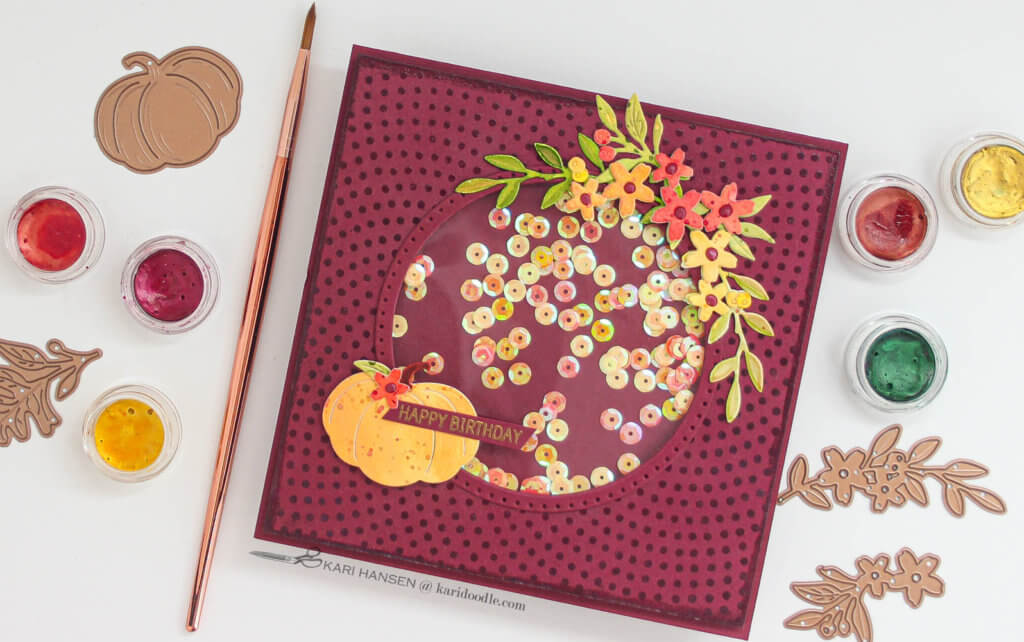
Russet Shaker Card: For the tone-on-tone background, I used Versamark ink and clear embossing powder with the Dot More stamp from Hero Arts. I constructed a shaker window filled with orange and yellow sequins and surrounded it with fall foliage, a pumpkin, and a small sentiment. Finished card size: 6 x 6”.
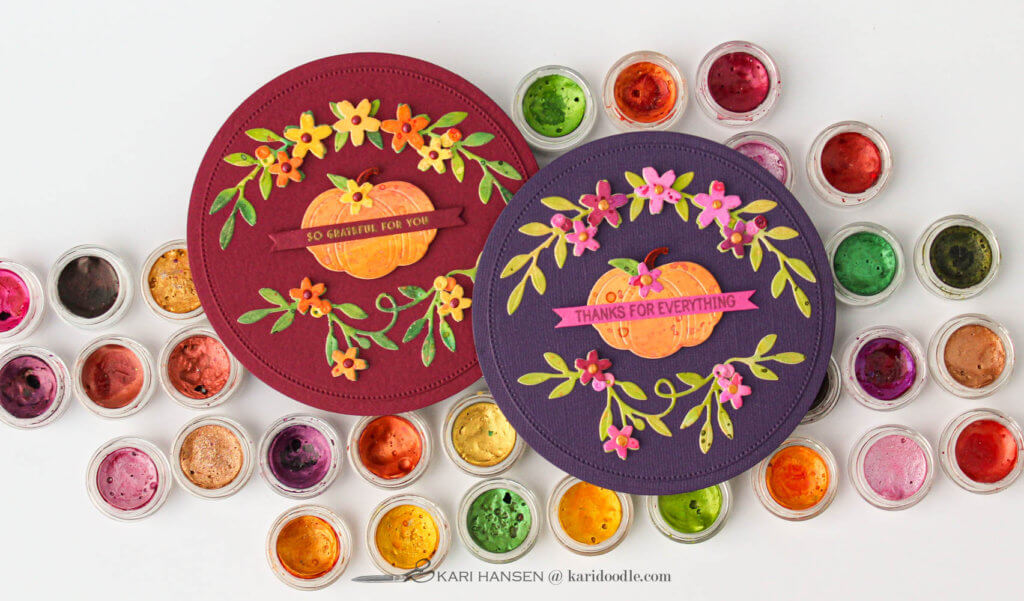
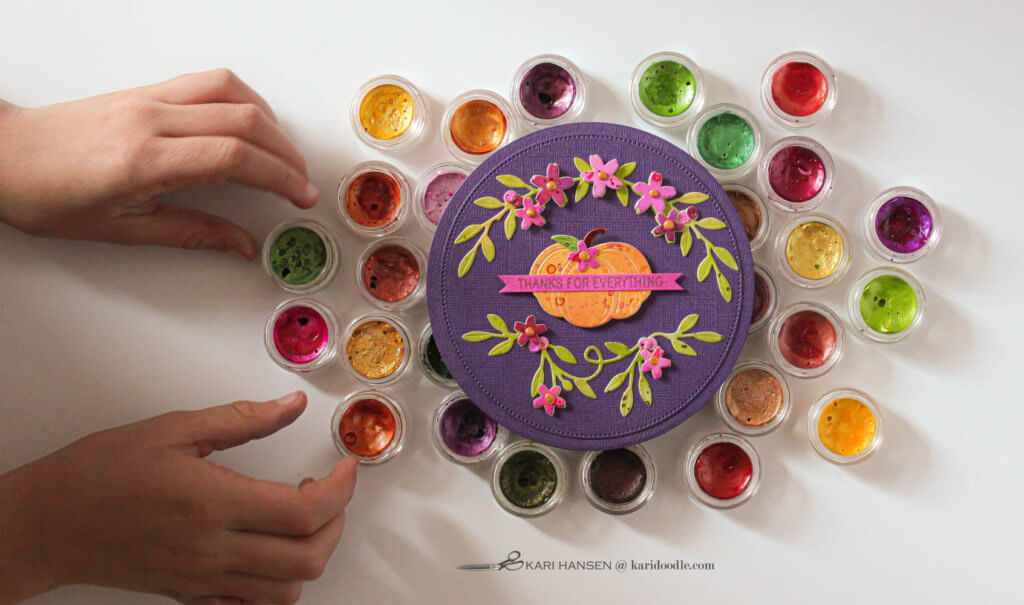
Round Gratitude Cards: These two 5” cards share the same composition, but I changed up the color schemes. To make each card base, I die-cut two round pieces from cardstock. On one piece, I used a scoring board and bone folder to make a crease about .35” from the edge. The narrow side of the fold was attached with liquid glue to the back of the remaining piece to create a hinged round card.
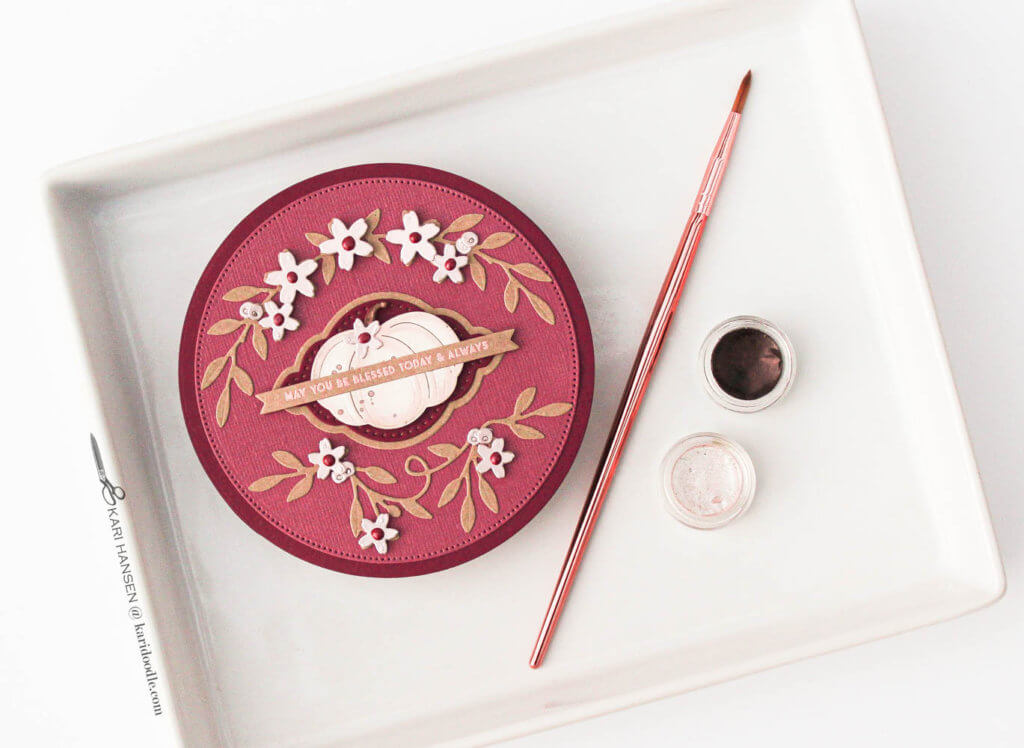
White Pumpkin Card: I took a slight departure with this 5” round design, featuring a white pumpkin surrounded by kraft-cardstock tendrils. I die-cut flowers from rose gold metallic cardstock and added Autumn Red Nuvo Drops to the centers.
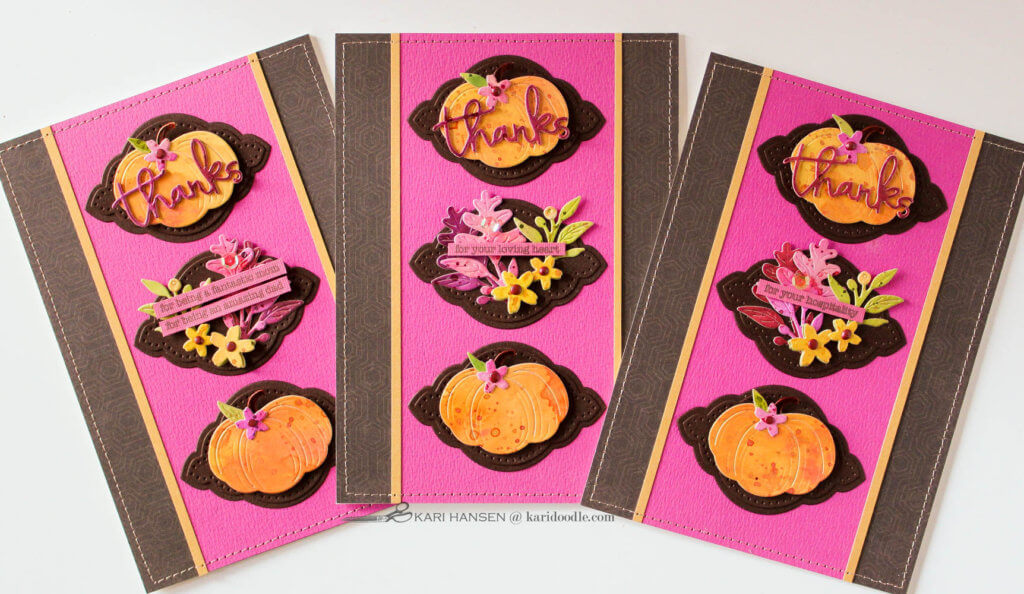
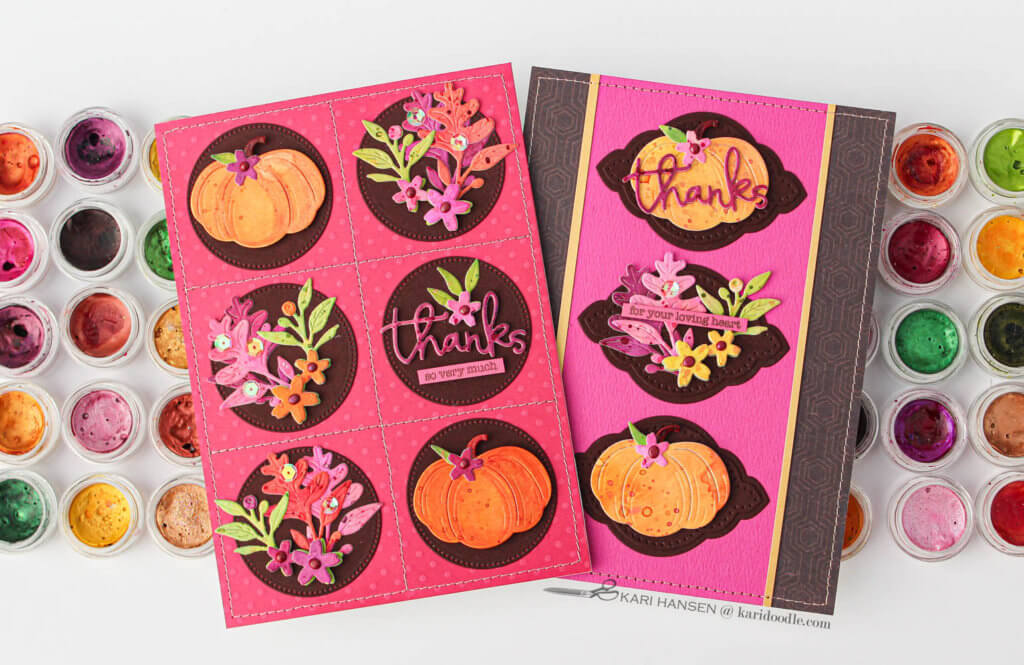
Pink & Chocolate Thank You Cards: Because I love pairing pink and orange, I couldn’t resist adding a deep raspberry pink to the autumnal mix of pumpkins and leaves. This color scheme pops against rich chocolate brown and creates a modern twist on the traditional fall palette. I finished this series of 5 x 7” cards with metallic thread, iridescent sequins, and the “thanks” script die from the Fall Flora die set.
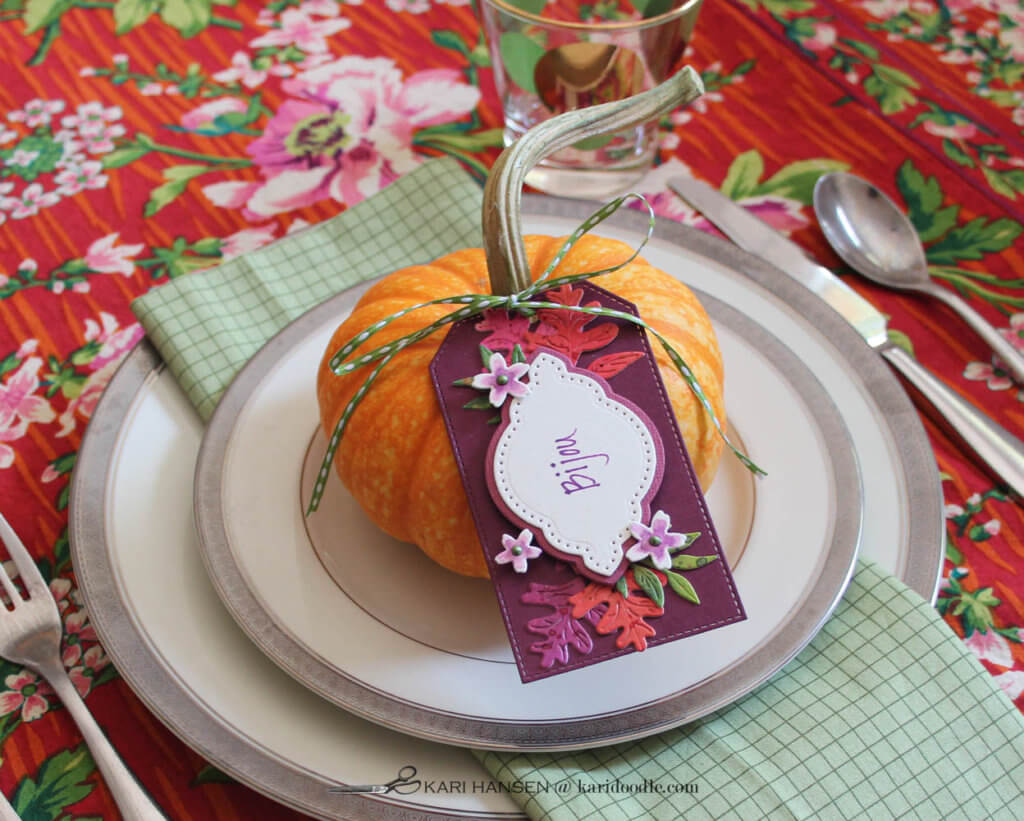
Bonus Project: Fall Place Card: For my Thanksgiving table, I crafted place-card tags to tie on mini pumpkins. Because my tablecloth is an unusual color palette, custom place cards are the perfect complement. (While this tablecloth design is discontinued, find similar hand-printed beauties at April Cornell.) White and purple flowers, just like the ones in the tablecloth, nestle on the tag among vibrant autumn leaves in wine and russet. I used the label dies from the Fall Flora die set to make nameplates for each tag.
Find inspiration for even more fall-themed cards using Twinkling H2O metallic watercolors: How to Make a Radiant Fall Monogram
4 Tips to Shine Bright with Metallic Watercolors
Here are a few tips for best results with your Twinkling H2Os or other metallic watercolors:
- Metallic paints need more time to absorb water than traditional watercolors. Add a few drops of water to each paint pan, then let it sit for a few minutes before activating with a brush.
- Because they’re hand-poured and contain no stabilizers, the paint pans of Twinkling H2Os will often have air bubbles. These are no cause for concern, as they don’t affect the paint quality or application.
- Most metallic paints look their best on black paper rather than white, but I find Twinkling H2Os to be an exception. Test out your paints to see how they look on each background.
- Swatch and label your paint palette to help you get familiar with the colors and to create a quick reference chart. I used white and black watercolor paper to swatch each color of my Twinkling H2O collection.
Like warm weather on Halloween night, finding my long-lost Twinkling H20s feels like an autumn windfall. It was all treats to paint with these old friends and create a stack of gratitude and Thanksgiving cards in vibrant fall shades. I love the dimension the glimmering paints give the die-cuts and want to try these paints with more die sets in the future. Whatever the season you are currently paper-crafting, try adding some subtle glitz to your die cuts with washes of metallic watercolors.

Find more metallic watercolor cards: How to Make Sparkling Rose Gold “Thanks a Latte” Cards
Supplies
- Twinkling H2O sparkling watercolor paints
- Fall Flora die set, Spellbinders
- Circle nesting dies, We R Memory Keepers
- Circles Dotted nesting dies
- Stitched Traditional tag dies, My Favorite Things
- Sentiment strip die set, Pink & Main
- Dot More background stamp, Hero Arts
- Sentiment Staples: Thanksgiving stamp set, Papertrey Ink
- Small Ways to Say Thank You stamp set, Picket Fence
- Sentiment Label Blocks stamp set, Ink Blot Shop
- Watercolor paper, cold press, Canson XL
- Black watercolor paper, cold press, Stonehenge
- Pearlescent yellow cardstock
- Passionate Pink cardstock, Gina K.
- Burnished Rose satin metallic cardstock, Tonic
- Ivory cardstock #110
- Grey, purple, kraft, chocolate brown, and wine cardstock
- Pink dot cardstock, My Mind’s Eye
- Chocolate brown patterned paper
- Clear acetate
- Versamark ink
- Brown dye ink
- Clear embossing powder
- Rose gold embossing powder, Lawn Fawn
- Platinum embossing powder
- Gold glitter embossing powder
- Nuvo crystal drops, Tonic: Antique Rose, Autumn Red, Auburn Pearl
- Yellow and orange sequins
- Clear iridescent sequins
- Green ribbon
- Purple extra fine point pen, Sharpie
- Thread medium/dark ecru 943-1054, Sulky
Tools & Adhesives
- Misti stamping platform, My Sweet Petunia
- Die-cutting machine, Spellbinders Platinum 6
- Paper trimmer, Tonic
- Scoring board
- Teflon bone folder
- Small fine-tipped scissors, EK Success
- Watercolor brushes: purple handled round brushes set of 12
- Watercolor brushes: flat and round set of 7 in case
- Heat tool, Wagner
- T-square ruler
- Hardboard
- Precision Craft Glue, Bearly Art
- Foam adhesive, Scotch 3M
- Mini hole punch
- Sewing machine
