Inside: Instructions, tips and ideas for how to make a huge DIY paper mural as a collaborative family craft project with kids. #creativekidsquest
Add one bejeweled mermaid princess, a sassy school of fish, and a groovy family of rainbow narwhals. Toss in a couple of briny fish jokes. Mix well with crayons, colored pencils, and a ginormous piece of paper. What do you get?
A totally fabulous, one-of-a-kind undersea mural thoughtfully crafted as a joint project between three artists of various ages!
Those three artists are me and my two daughters. In our quest to be creative together every day during this period of sheltering in place, we’ve been busy all week making a huge paper wall mural. #creativekidsquest
I smile with pride every time I walk into our living room and see this bright and beautiful scene taking shape. In this truly collaborative family endeavor, we’re working together to craft both quality family time and a fabulous creative project.
You and your tribe will love this project too! Join us for Project #2 in the Creative Kids Quest series!
Read on for instructions and tips to make your own paper mural, including supplies and ideas for a theme.
In this post:
Choose a Mural Theme
Let’s get started by brainstorming ideas for your mural! To create a cohesive scene on your mural, pick a theme. Gather suggestions from your family participants. Take a vote if necessary.
Here’s eight mural theme ideas to get you started:
- Deep Blue Ocean: Colorful, mysterious sea creatures like octopi, mermaids, whales, narwhals, sea horses, sharks, and exotic fish swim amongst coral, seaweed, and shells. You could also combine these occupants with a lost city of Atlantis.
- Tropical Rain Forest: Vibrant birds, exotic flowers, and mischievous monkeys cohabitate with tigers, sloths, and elephants, oh my! Lots of lush greenery, hanging vines, and sneaky snakes live here too.
- Little Pet Shop: Cozy kittens, cuddly puppies, and fluffy bunnies wait to be adopted at the pet store, along with silly hamsters in wheels, vivid parrots on perches, and dazzling fish in tanks.
- Down on the Farm: An iconic red barn and grassy green fields are home to horses, cows, sheep, chickens, pigs, and all their barnyard friends. Cheery sunflowers and talking spiders can also take up residence on your farm.
- Enchanted Woodland Forest: Red-capped mushrooms and majestic oak trees grow side-by-side in a mossy scene inhabited by deer, squirrels, butterflies, beehives, rabbits, and many kinds of birds. Fairies, gnomes, and hobbit holes are optional!
- Australian Forests and Outback: With its unique animals, including kangaroos, platypus, koala bears, kingfishers, and wombats, the land down under provides loads of inspiration for a mural. Choose the barren outback, a lively forest stream, or a combination of both as your backdrop.
- Faraway in Outer Space: Create an out-of-this world scene set in a galaxy of stars. Can you identify the constellations? You can include spaceships, astronauts, planets, and aliens in this sci-fi themed mural.
- African Savannah: How can you go wrong with gangly giraffes, proud lions, and stripey zebras? Set them on the iconic African plains, congregating at the local watering hole or running in herds. Don’t forget the cheetahs and hippos!
My kids and I chose an ocean theme because we’re into mermaids, narwhals, and snails right now.
If you need some inspiration to get the drawing started after you’ve picked your theme, browse the internet for photos and illustrations of similar subjects. Seeing how illustrators choose to represent animals or plants can spawn lots of ideas of your own.
Find Your Mural Material
To set up the foundation of your mural, you’ll need an oversized swath of paper. A large roll of paper, like teachers use for bulletin boards, is ideal. If you don’t happen to have one of those around, get creative about what else you could use. Kraft paper (for postal packages), white poster boards attached together, or the backside of heavy wrapping paper could all work. In a pinch, you can even tape pieces of white printer paper together, slightly overlapping the pieces. If taping smaller pieces like that together, use packing tape on the back so it’s durable and the tape won’t interfere with the mural.
I had a roll of wide mixed media paper in my basement, left over from the kids’ art classes and camps I’ve taught in the past. I must admit that this pack rat felt a a tad validated that I still had that roll of paper! The finished size of our mural is about 4 x 7 feet.

Hang the Mural
Now find a place to hang your mural. Keep in mind that the mural can be either horizontal or vertical in orientation.
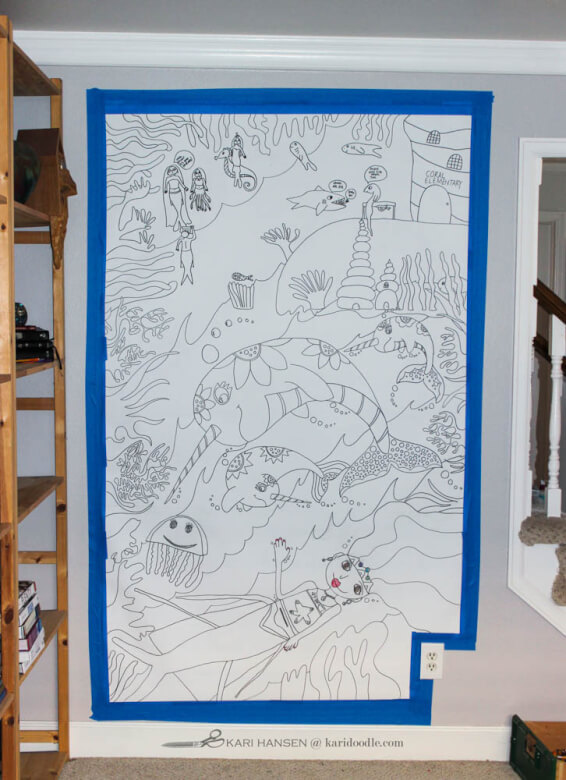
After looking around the house for a big section of wall space, I temporarily relocated a large painting in our living room. I then used painter’s tape to attach the paper to the wall in the vacated spot. I taped around the edges several times to make sure the paper stayed put.
Divide and Conquer
Decide with your tribe if you want to each have your own section of the mural or if you want to work on the entire piece together. My kids and I chose to each do our own section.
If you go the route of individual sections, be sure to emphasize that you are still working together to create a cohesive whole. Discuss how you can create a flow from one scene into the next. Plants, water waves, landscape elements, and other repeatable motifs are good ways to connect the areas.
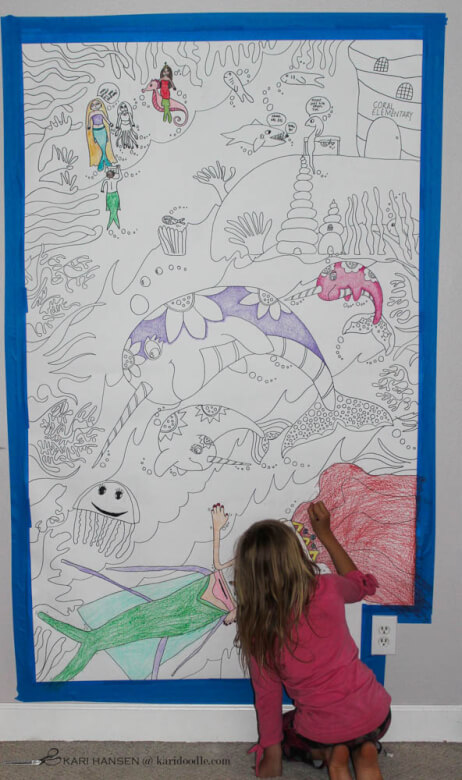
Once the paper was up, I divided the mural into three sections using a yardstick and pencil. Now the girls and I each have our own section in which to create a part of the mural. We decided that we would employ waves and water plants overlapping the sections to tie the three areas together.
Pencil in the Design
Next, it’s time to pencil in your mural. Make some sketches as a preliminary design for your panels. Then take turns drawing your design onto the mural using pencil.
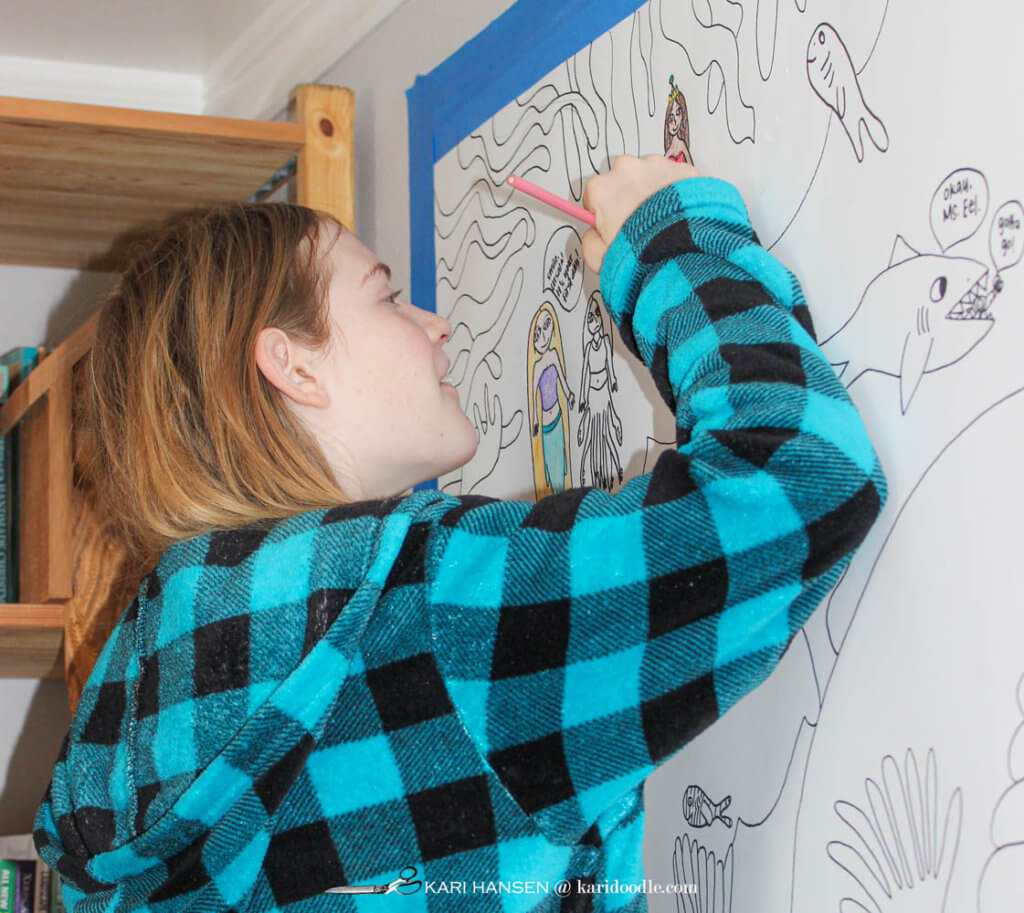
Younger kids will do best with a lower section. My eight-year-old likes that she can sit on the floor to color her portion of the mural. I like that she isn’t the one on the step ladder.
I had the middle section so my drawing could act as a bridge between the two kids. I did my pencil drawing first, including waves and plants that the girls could then incorporate into their sections. Once I was finished, the girls each penciled in their panels. My narwhals were inspired by a calendar we had last year with illustrations by Anni Betts.
When everyone is done drawing, go over all the pencil lines with a fine-point Sharpie marker. Older kids could do their sections themselves, but I went ahead and did all of ours for consistency. You can erase the pencil lines now if you wish.
Pick a Coloring Medium
What do you want to color your mural with? Consider what mediums you have, what will work best for the wall, and what will be least messy.
I contemplated our options. Paint is too messy on a vertical surface, especially in a carpeted room. Alcohol markers might bleed through the paper to the wall underneath. Water-based markers may get too dried out and sketchy over such a large surface area. I had this problem in the past when I colored a life-sized 3D cardboard doghouse. (Don’t ask). I blew through four blue markers for the roof alone and it still wasn’t a solid color coating.
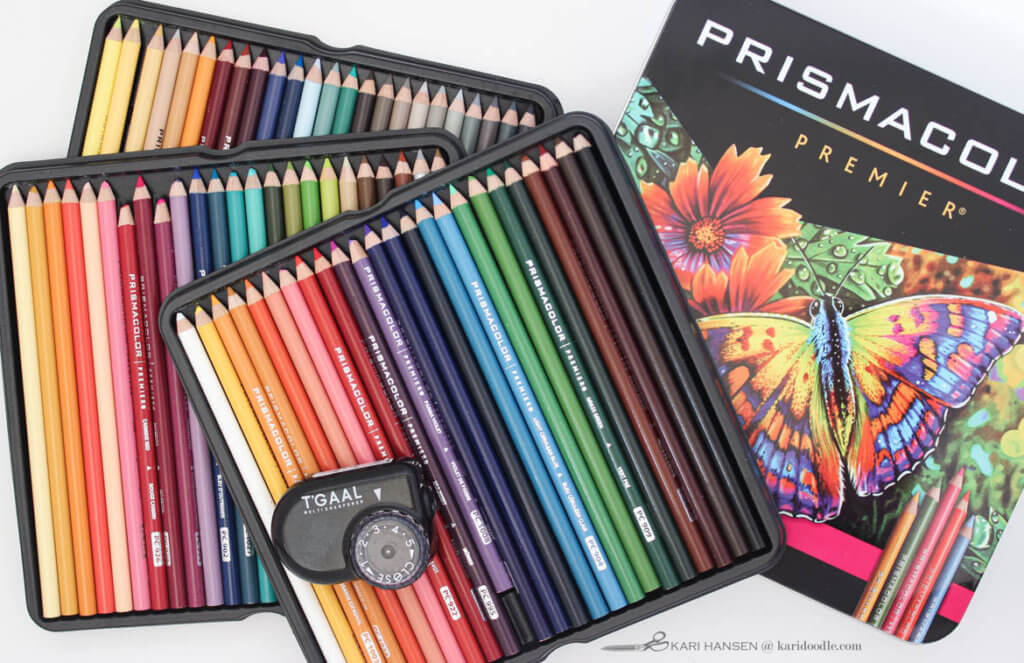
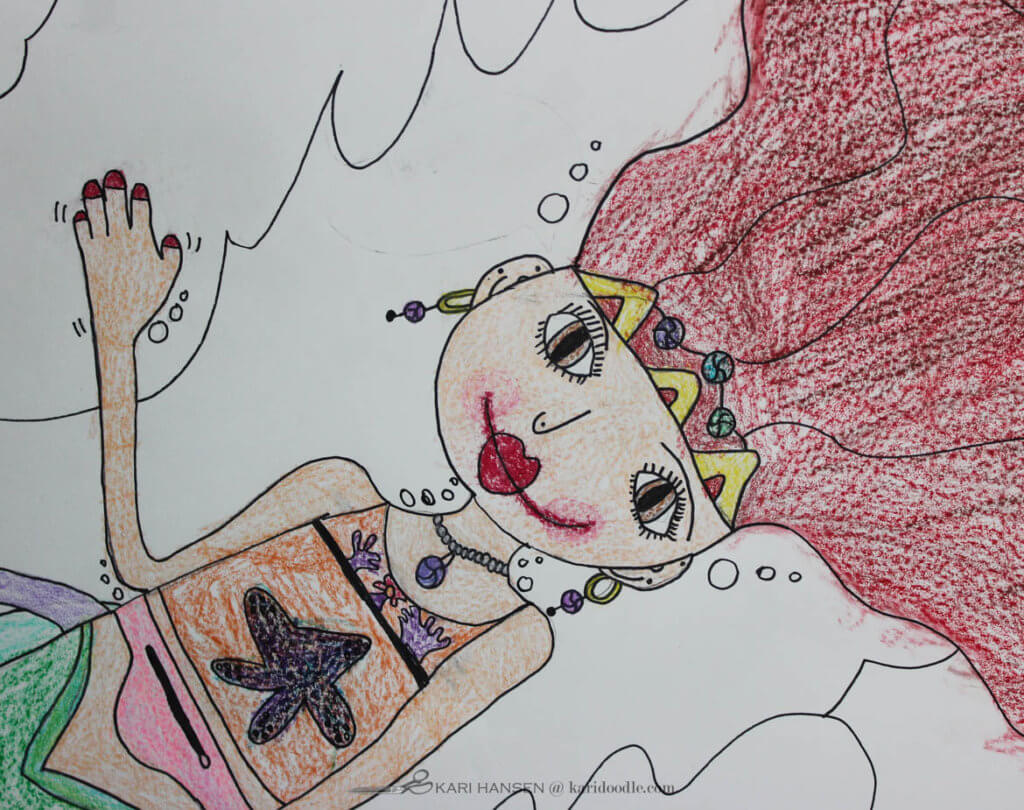
In the end, I made the executive decision that we’re using crayons and colored pencils for our mural. We have tons of each in a plethora of colors, including an entire drawer of crayons in our art dresser. We gathered up the colored pencils and pulled out the crayon drawer, setting them all up at the mural site.
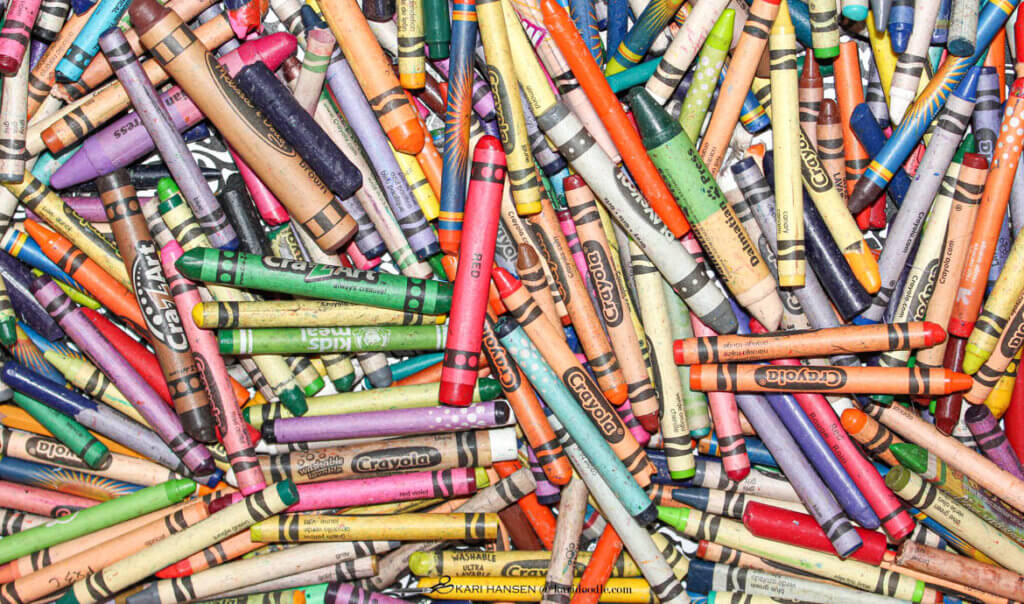
Ready, set, color!
Now that your wall mural is now up, it’s time for the best part: coloring! Encourage your kids to take their time over the next week (or more) coloring on the mural. Like a puzzle at Christmastime, it’s nice to have a project that each family member can work on in a come-and-go fashion.
Adopt a No-Pressure Approach
I recently showed a photo of our mural-in-progress to my cousin. While she loved our project, she also commented that not everyone may feel as confident in their drawing skills as my daughters and me.
She makes a good point, which reminds me to encourage you to put aside any perfectionism tendencies and unrealistic expectations you and your kids may have while working on this venture. Instead, adopt a growth mindset and suspend any pressure about how the end result should look. The last thing we want is for this project to be a source of stress or conflict!
The mural project is NOT about creating a Da Vinci-level masterpiece. The real goal of the project is the collaboration. It’s about working as a supportive team, problem-solving as a tribe, and having a shared purpose. Chill and just have fun with it!
As I write this, our mural is a work in progress. I’ll post updated photos as we add more color day by day. So far we’ve really enjoyed working on this unique collaborative project together. I hope your family does too!
Don’t forget to take a photo once a day to document the mural as it progresses. Please share your photos with us on my Facebook page. We can’t wait to see what your team makes!
This post is part of the Creative Kids Quest series.
The goal of Creative Kids Quest is to provide ideas and inspiration for fun and creative projects parents and kids can make together to banish boredom while housebound due to self-isolating, quarantine, or extreme weather. We hope you and your kid crew will join us! #creativekidsquest
Find links to the whole series below:
- Welcome to Creative Kids Quest: How to Be Creative with Kids While Stuck in the House
- Project #1: How to Help Kids Have a Focused Day When School’s Out
- Project #2: How to Make an Epic Paper Mural with Your Kids
- Project #3: Here are the Easy Cookies Kids Can Proudly Bake By Themselves
Supplies
- Mixed media paper roll, 48” wide, Canson XL
- Colored Pencils, Prismacolor
- Pencil sharpener
- Crayola Crayons
- White eraser
- Mechanical pencil
- Sharpie marker, fine point
- Painter’s tape
