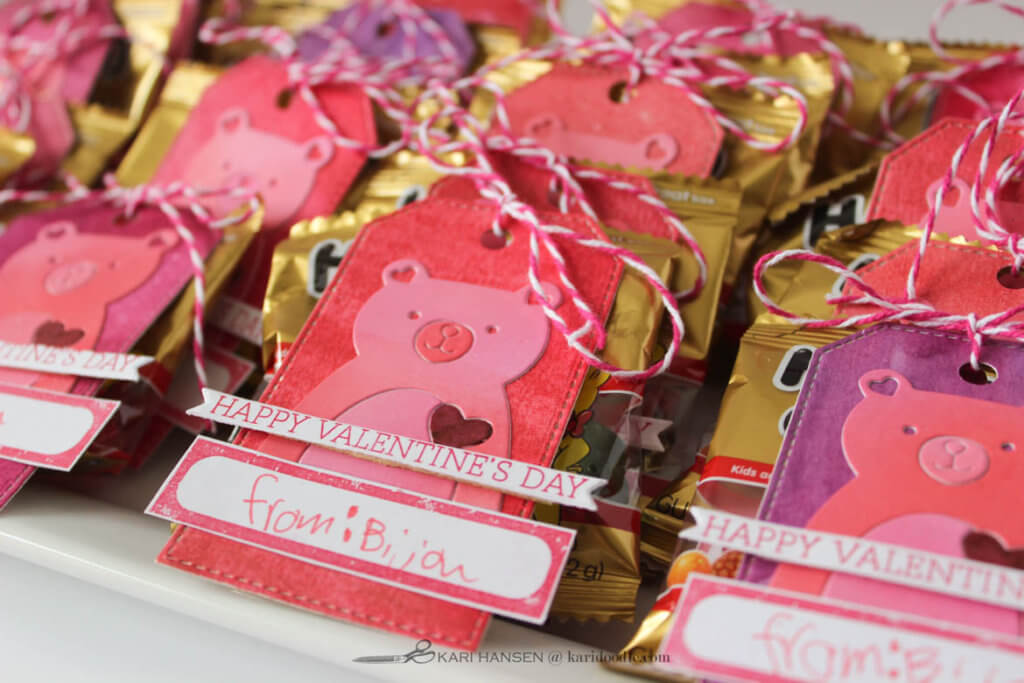
Inside: Instructions to make handmade candy Valentines with your elementary-school child using dies and watercolors.
In addition to giving melt-your-heart hugs and drawing amazing cat-human hybrids, cardmaking is one of my daughter’s superpowers. She loves to set up shop at one end of my craft table, making cards for her teacher, friends, and family members. When it came time to make DIY classroom Valentines, Bijou was all in.
In this post:
Dream Up DIY Valentines for Little Hands
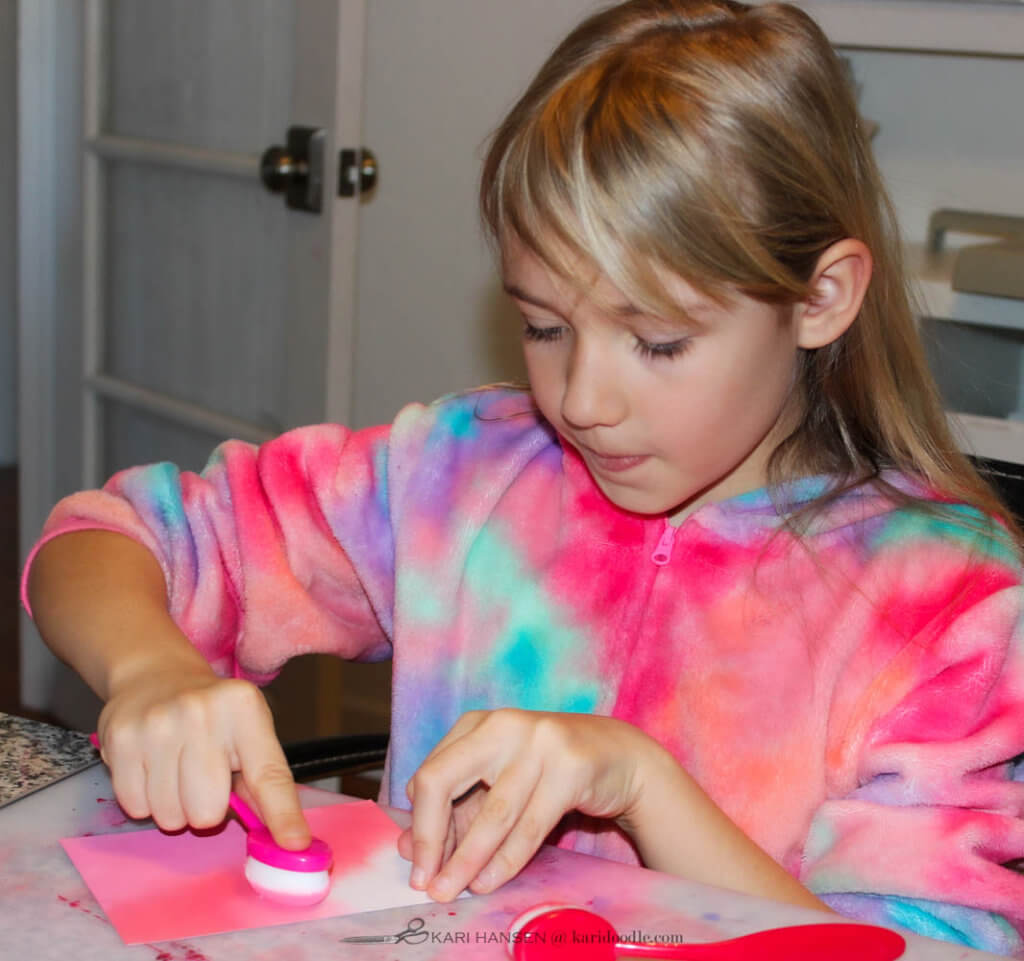
While I helped her come up with a design plan and assisted with some of the cutting and assembly, Bijou wanted to do most of the project herself. She is obsessed with watercolor and ink-blending right now and wanted to include those on her Valentines. She’s so into those techniques that she received her own set of paints, blending brushes, and ink pads for Christmas. Yes, it was a plot to keep her out of my supplies, but it also made her very happy. #winwin
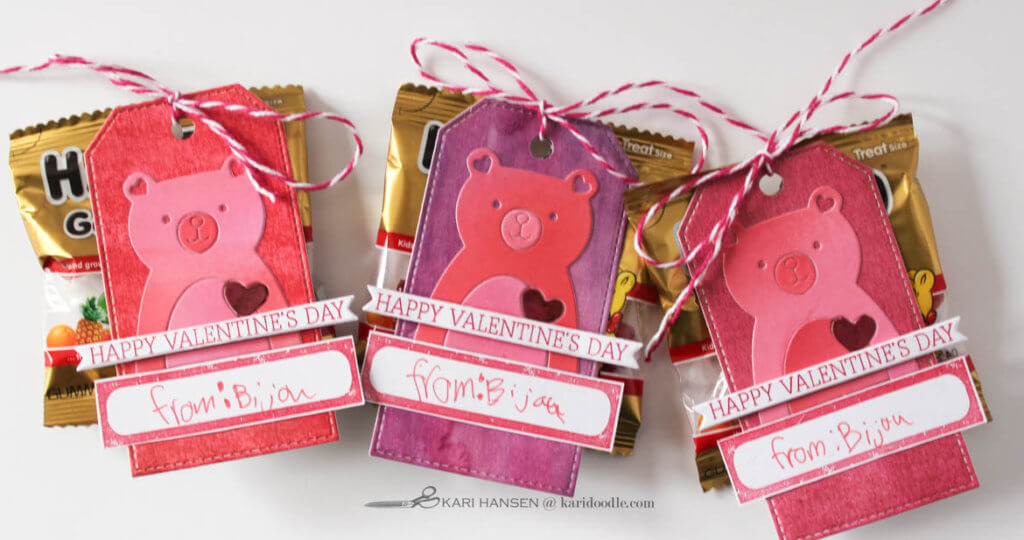
If your child is younger, or not as into crafting as my eight-year-old, you can easily adapt this or other designs. Pick just one of the colorings aspects that they could feasibly do on their own. That way, they can still make their own special Valentines while keeping the process manageable. Perhaps have them only paint the tag backgrounds, since watercolor is doable for all skill levels and ages. Skip the ink blending and simply cut the bears from pink cardstock.
Jointly Plan Your Kid-Sized Valentines
To get started, we talked about what colors, supplies, and format she wanted to use for her Valentines. I showed her some Valentine-related stamps and dies in my stash that she could choose from. While Bijou does like to stamp, for this project she picked the Picture Book Bear die so she could pair it with ink blending.
No surprise that my second grader wanted candy to be part of her cards! She picked gummy bears to go with the bear die-cuts. That choice led to the decision to make tags to tie on the bags of gummies. We drew some sketches and finalized a plan.
For best results, keep the Valentines small and simple. Create a design that is age- and skill-appropriate and easy to mass-produce. Then break the design’s components down into steps that you and your child can work on a bit at a time.
If you need inspiration, check out Pinterest for tons of super cute classroom Valentine’s ideas. My Pinterest idea board is a great place to start. And of course, Valentine-themed pencils, erasers, stickers, or other small treats work well for classroom cards instead of candy.
Schedule Valentine-Making Sessions into Your Calendar
Bijou loves to craft and was excited about this project, so she had no problem staying on task. Nonetheless, I suggest you break up the project into bite-sized steps and schedule crafting time into your family calendar starting in late January.
Our elementary school encourages handmade Valentines and suggests starting these projects on Martin Luther King Day when the kids are off school. We’ve embraced this wise idea, since it gives us a definitive start date to work on the DIY Valentines over the course of a few weeks. In the evenings after homework or on snowy weekend afternoons, Valentines are an enjoyable mom & kid project.

Create and Collaborate Step by Step
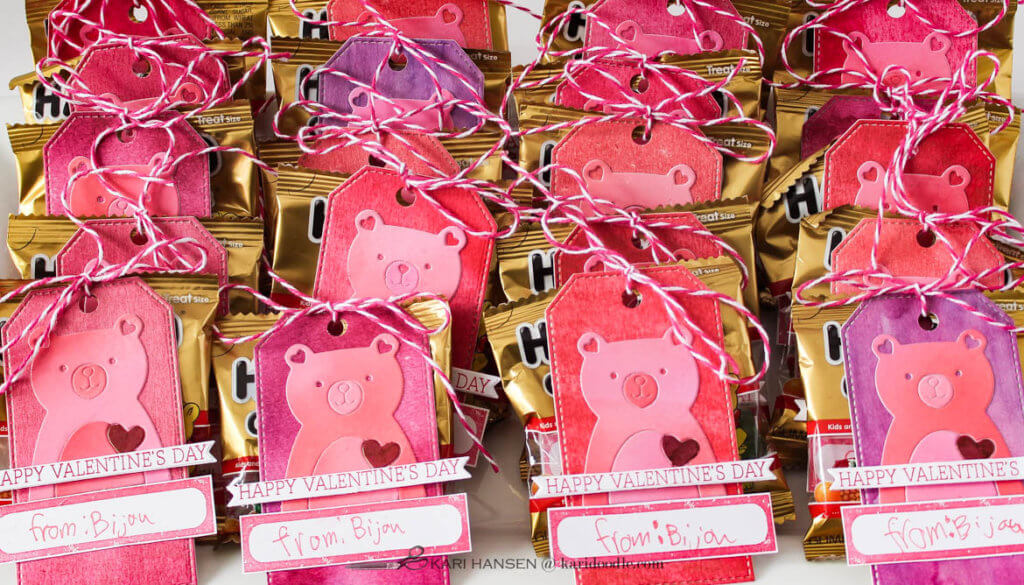
Once you have a plan and have procured the necessary supplies, you and your little sweetie are ready to get down to cupid’s business. Here’s our action plan to make 24 Valentines:
- Cut heavy white cardstock sheets in half to 5.5 x 8.5” panels to make a manageable size for ink blending. To make 24 Valentines, we cut three panels.
- Ink-blend on panels using blending brushes and Distress Oxide inks in Candied Apple, Festive Berries, Picked Raspberry, and Worn Lipstick. (Any ink will work here, but the creamy consistency of Distress Oxides inks is particularly easy to blend for little hands.) Allow to dry.
- Die-cut bear x 24 from panels. Pop out the bear’s eyes and heart-shaped ear insides. Color the big heart with a dark red or purple marker.
- Cut watercolor paper into small panels. We cut 9 x 12” watercolor paper in half to make 6 x 9” panels. We painted eight panels. Tape a sheet to hardboard. Wet entire sheet with clean water and a wide, flat brush. Drop in desired paint colors and swoosh around until the panel is covered with color. Air dry or dry with heat tool. Add a second layer of paint and dry. Repeat for all watercolor panels.
- Die-cut 24 tags (about 2.5 x 4.5″) from watercolor panels. Punch a hole in the top center of each tag.
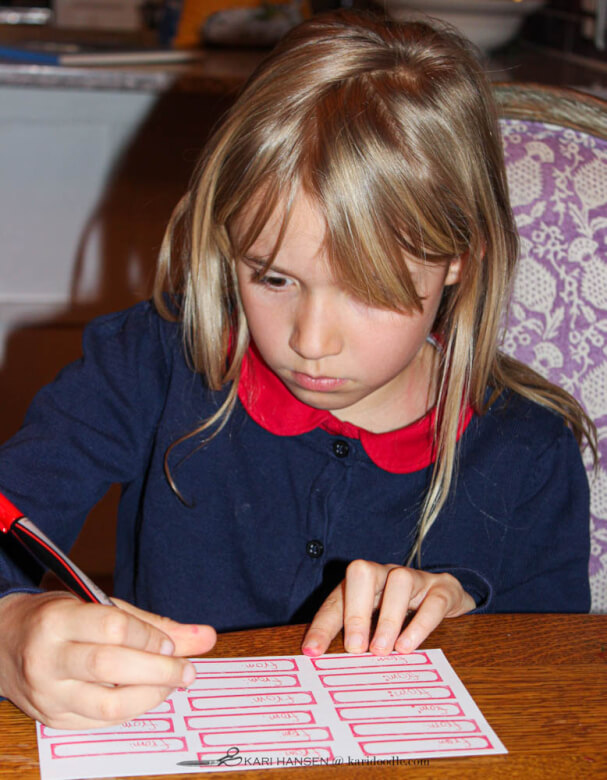
- Stamp Valentine’s sentiments and label onto white cardstock with red ink. Cut out sentiments and labels using scissors or dies. Have child write “from:” and her name on all labels using a Sharpie or other fine-tipped marker. Also include each recipient’s name here if your class includes this on Valentines (our teacher requested we leave names off this year to aid in easier distribution).
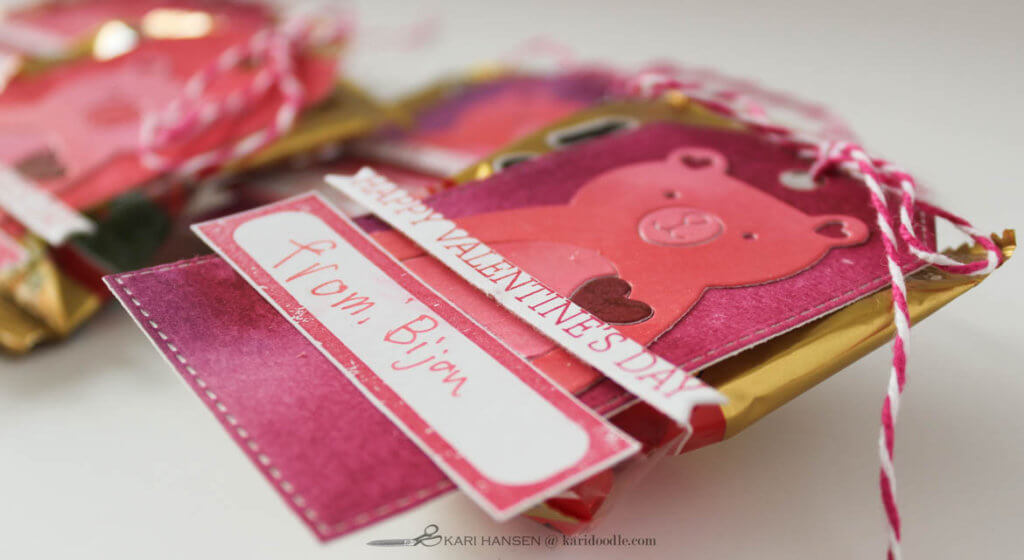
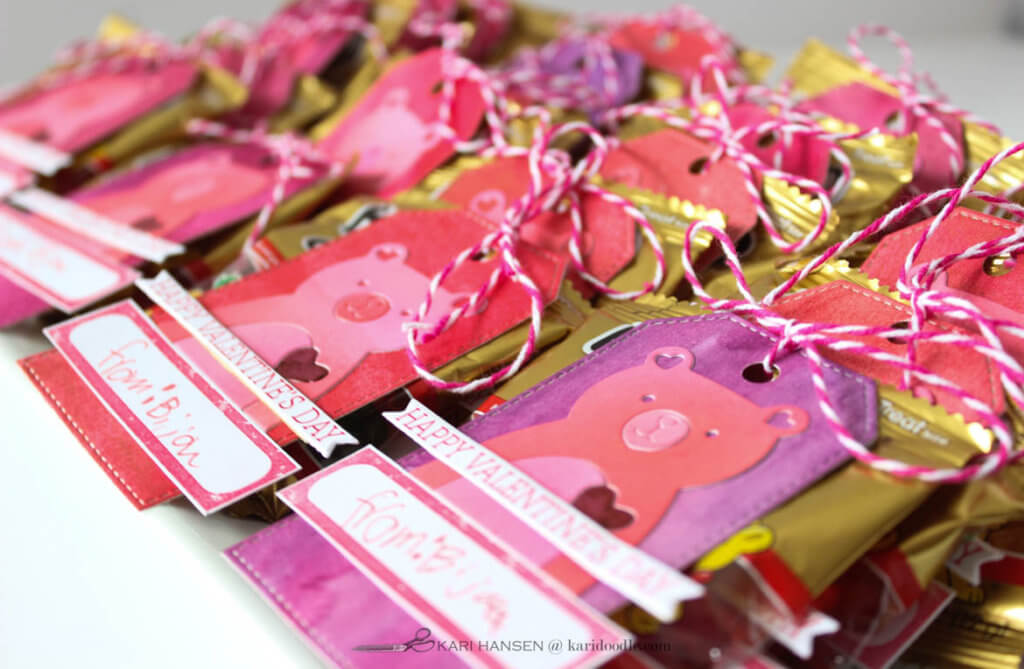
- Assemble elements onto tags using liquid glue for all pieces except sentiment. We switched the bears’ tummies and noses around for color variety. Adhere sentiment with a skinny strip of foam tape.
- Punch hole in top of each candy packet. Test to find the required length of baker’s twine, and then cut 23 more pieces of baker’s twine in the same length. Fasten tags onto candy packets with baker’s twine, tying in a bow.
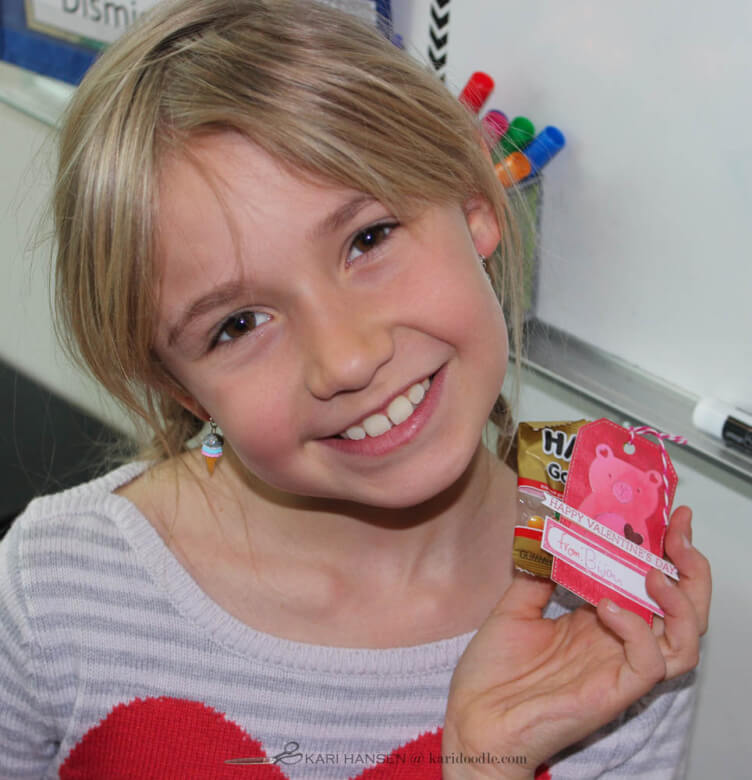
Even though we started early, we did finish up the assembly the night before the class party. But since we had all the parts ready to go, this was not the mad, stressful rush it might have been. Instead, it was a happy conclusion to a fun joint project. Bijou was so proud of her Valentine’s and couldn’t wait to pass them out the next day. Team Crafty Cupid for the win!
Find more ink-blended die cuts: How to Make Valentine’s Cards with Scandinavian Style
Supplies
- Haribo gummy bear treat packs
- Picture Book Love Bear die, Simon Says Stamp
- Stitched Traditional Tags die set, My Favorite Things
- Sentiment Strip dies, Pink & Main
- Love stamp and die set, Hero Arts
- Label stamp from Luck of the Irish mini stamp set, Papertrey Ink
- Distress Oxide inks, Tim Holtz for Ranger: Candied Apple, Festive Berries, Picked Raspberry, Worn Lipstick
- Gansai Tambi watercolor set, Kuretake
- Watercolor paper, cold press, Canson XL
- Versamark pigment ink in Cardinal, Tsukineko
- White cardstock #110, Neena Solar White Classic Crest
- Bakers twine, dark pink
- Purple marker
- Sharpie ultra-fine point marker
Tools & Adhesive
- Platinum 6 die cutting machine | Spellbinders
- Misti stamping platform | My Sweet Petunia
- Sewing machine
- Paper trimmer
- Blending brushes | Taylored Expressions
- Heat tool | Wagner
- Photo printer | Epson
- All-in-one laser printer | Brother
- Scoring board
- Teflon bone folder
- Jewel picker | Katana
- Tag punch board | W R Memory Keepers
- Binding edge punch | EK Success
- Grid Transparency | Simon Says Stamp
- Small fine-tipped scissors | EK Success
- Distress Sprayer | Tim Holtz for Ranger
- Twist-Erase 0.5 mechanical pencil | Pentel
- T-square ruler
- Tweezers
- Hole punch
- Mini hole punch
- Black Velvet watercolor brushes, round #4, 8, 12 | Silver
- Watercolor brushes: purple handled round brushes set of 12
- Watercolor brushes: flat and round set of 7 in case
- Watercolor brush: #18/0 short liner
- Round paint palette, plastic
- Ceramic paint palette
- Hardboard
- Foam adhesive | Scotch 3M
- White ½” foam tape | iCraft
- Black ½” foam tape | iCraft
- Precision Craft Glue | Bearly Art
