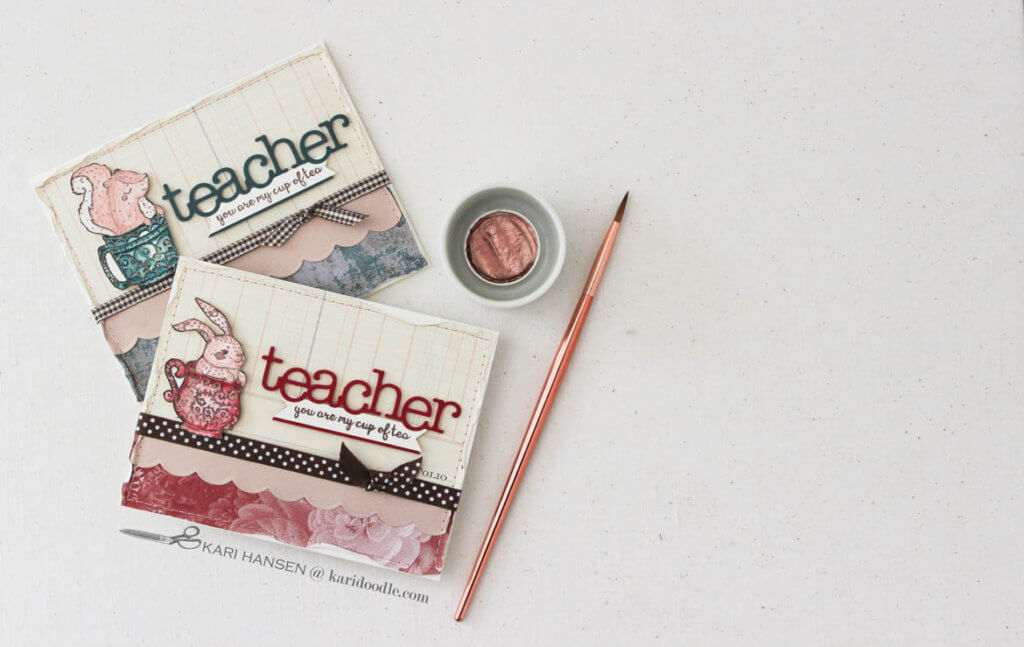
Inside: Instructions for how to stamp and watercolor handmade teacher appreciation cards using Pink & Main critter stamps.
How much do I like to treasure-hunt at craft shows? As much as a cheeky squirrel likes to harass birdfeeders, taunt felines, and travel tightrope-style on power lines.
So here’s a surprise of nut-dropping proportions: I recently spent two days at a local papercrafting show…
…and I hardly bought a thing!
I was too busy manning my own booth — a pop-up shop selling my hoarder stash of new and gently used craft supplies — to spend much time browsing at this show.
When I did finally get a few minutes to play buyer rather than seller, I made a squirrel-line for the Pink & Main booth. A new company to me, I wanted to check out their clear stamp sets.
In this post:
Picking Faves at Pink & Main
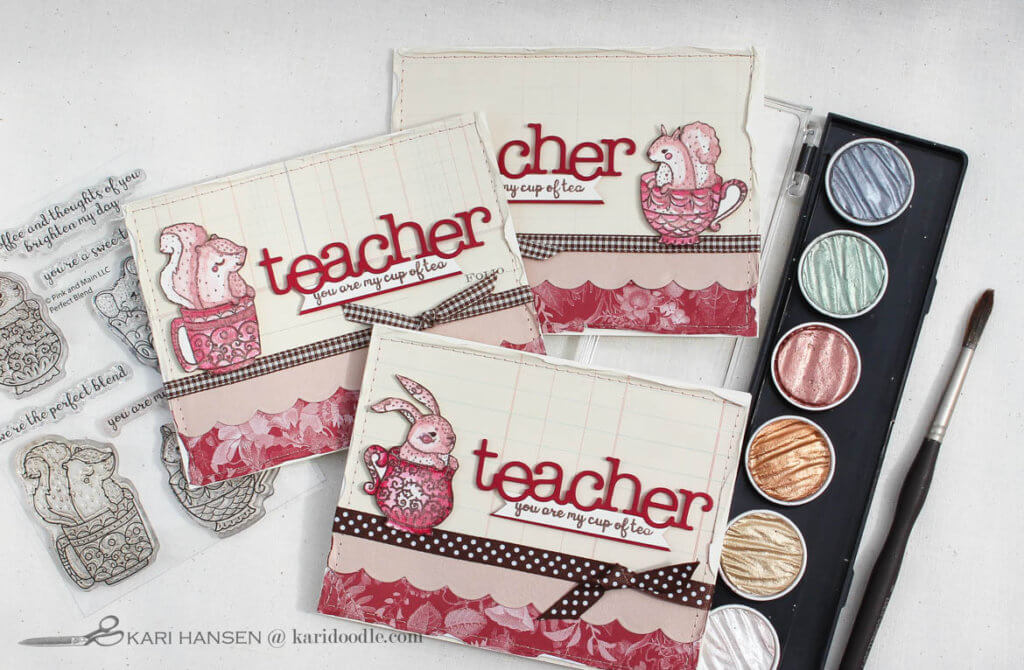
Coffee stamps and woodland animal stamps are both hard for me to resist, so when they’re together in one set, it’s plain hopeless. The Perfect Blend stamp set, which does indeed include a squirrel, had to come home with me. 😊
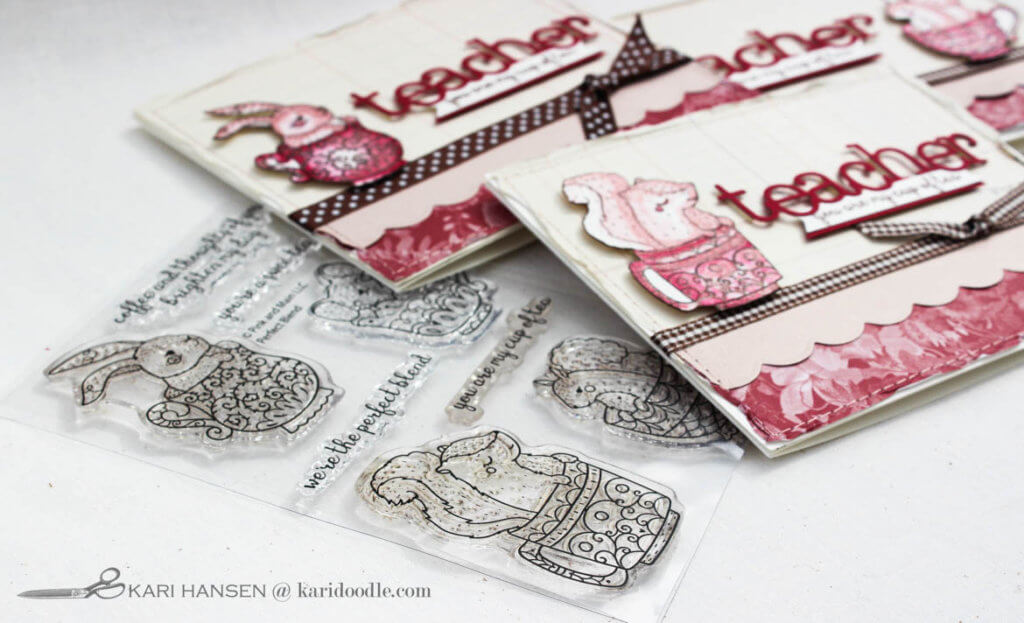
Always on the lookout for original designs, these sets also caught my eye at Pink & Main:
- Galaxy foil 6 x 6 paper pad
- My Tribe stamp set
- Pirate Critters stamp set
- Winter Portraits stamp set
- Norse Day stamp set
Coordinating dies are available for the Pink & Main stamp sets.
Several stamp sets on that list would make splendid cards for boys, always challenging to find. I’m especially excited about making masculine birthday cards with the Norse Day set. Who knew Vikings could be so adorable?
Giving Furry Friends Rose Gold Sparkle
My original plan for the little critters from the Perfect Blend stamp set was to incorporate them into the “Thanks a Latte” cards I was making for friends that helped me with my craft booth.
Love using watercolors? Check out “This is How to Make the Best Simple Watercolor Tartans”
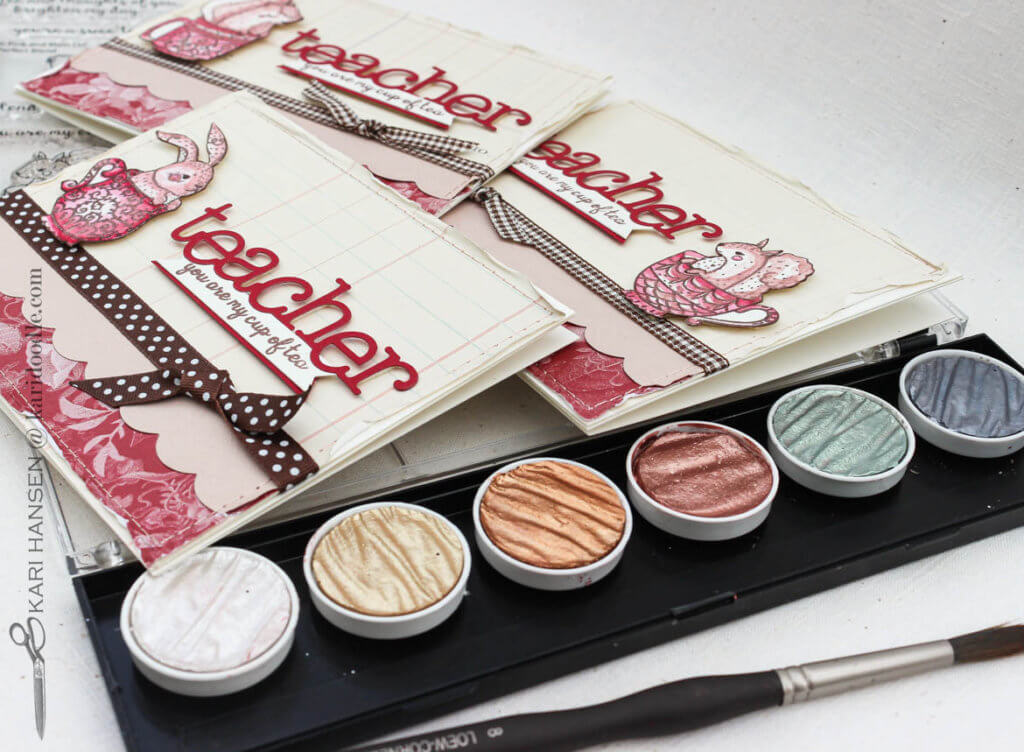
I stamped the images in Memento Rich Cocoa ink and then used the same watercolors as the coffee-cup backgrounds: rose gold pearlescent from the Silk set by Coliro/Finetec, and raspberry red from Kuretake Gansai Tambi.
But once I’d finished the background pieces for the latte cards, I realized the sweet little animals would be overwhelmed by all that Jackson Pollock-like splatter painting. Time to make a design pivot!
Assigning Cute Critters to Awesome Teachers
Since Teacher Appreciation Week was coming up at my daughters’ school, I decided to use the wee beasties on teacher cards instead.
In addition to their classroom teachers, I like to make end-of-year appreciation cards for my daughters’ paras, principal and specials teachers (art, music, and PE). Those teachers need some love, too!
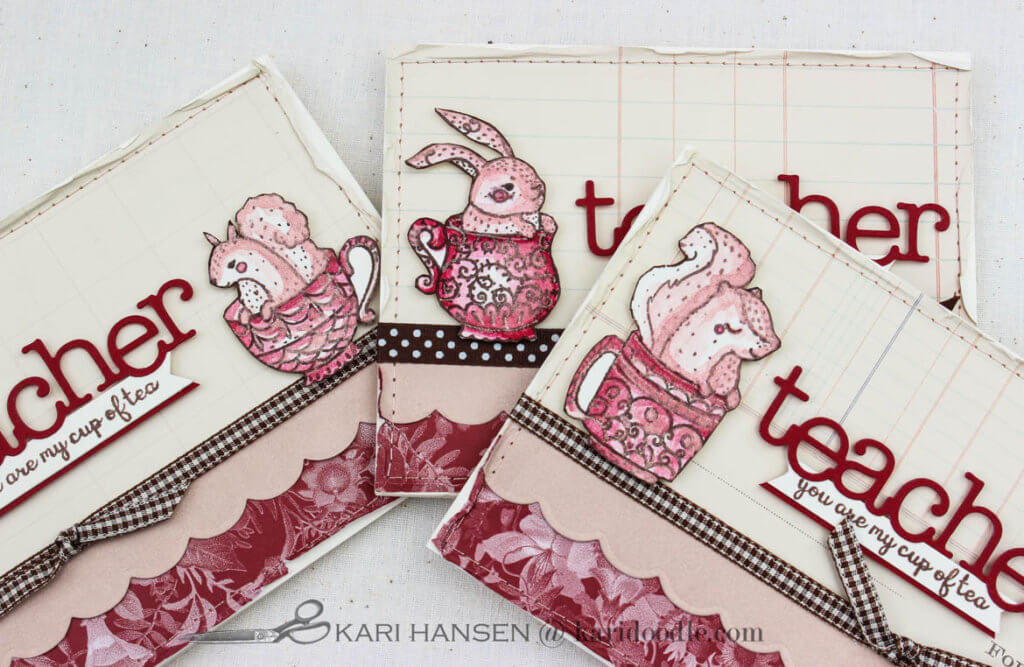
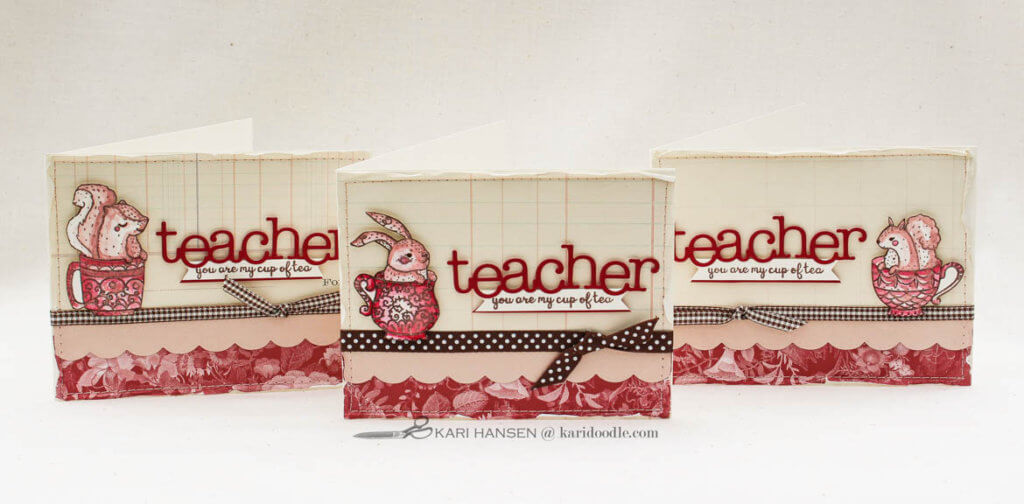
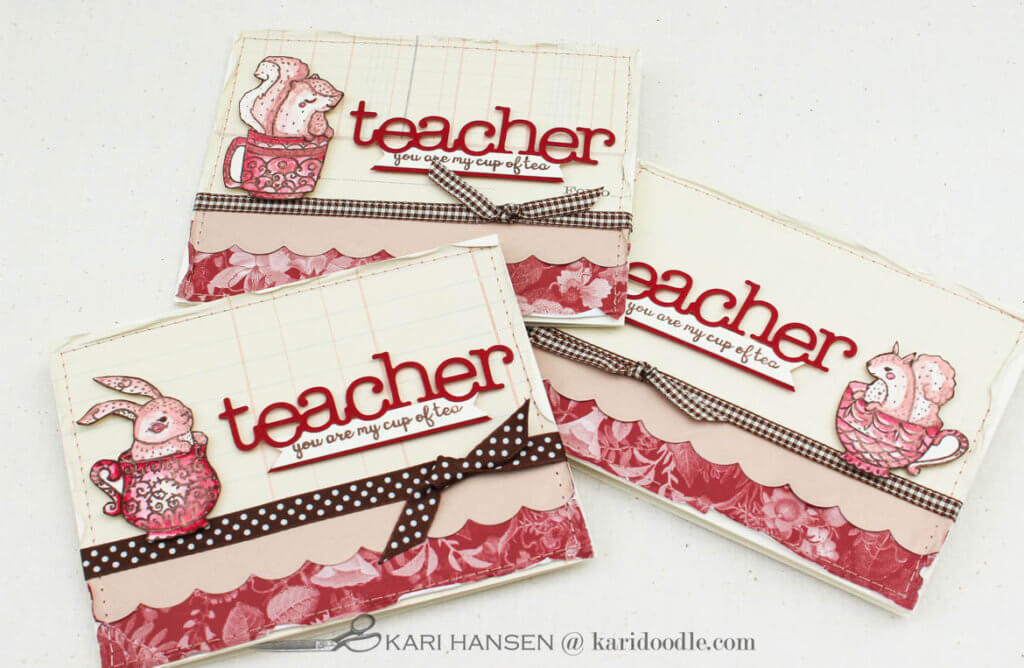
In total, the count came to nine teachers, and wouldn’t you know it—I had stamped and painted nine critters. Perfect!
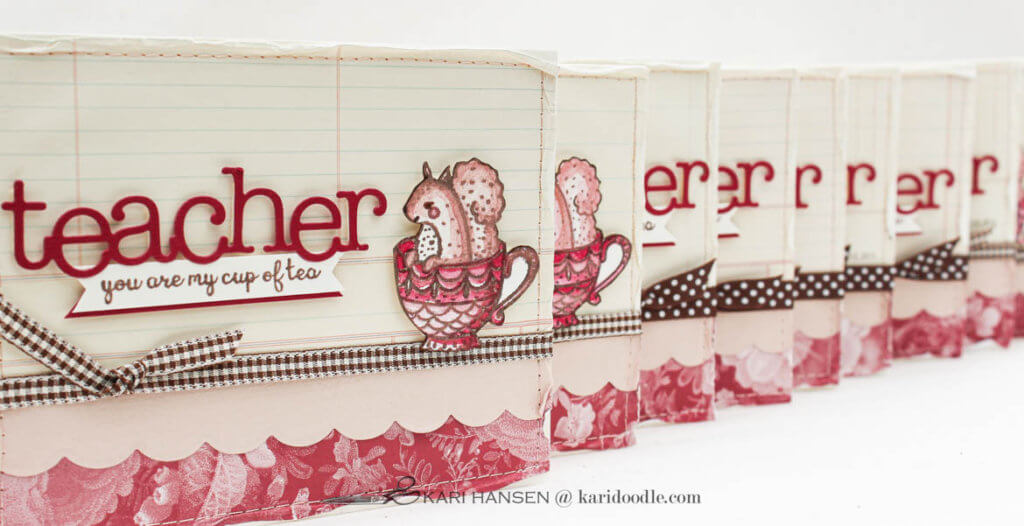
Doodle Tip: Save time and brainpower by reusing the same design and basic components but with slight variations to suit a particular recipient or occasion.
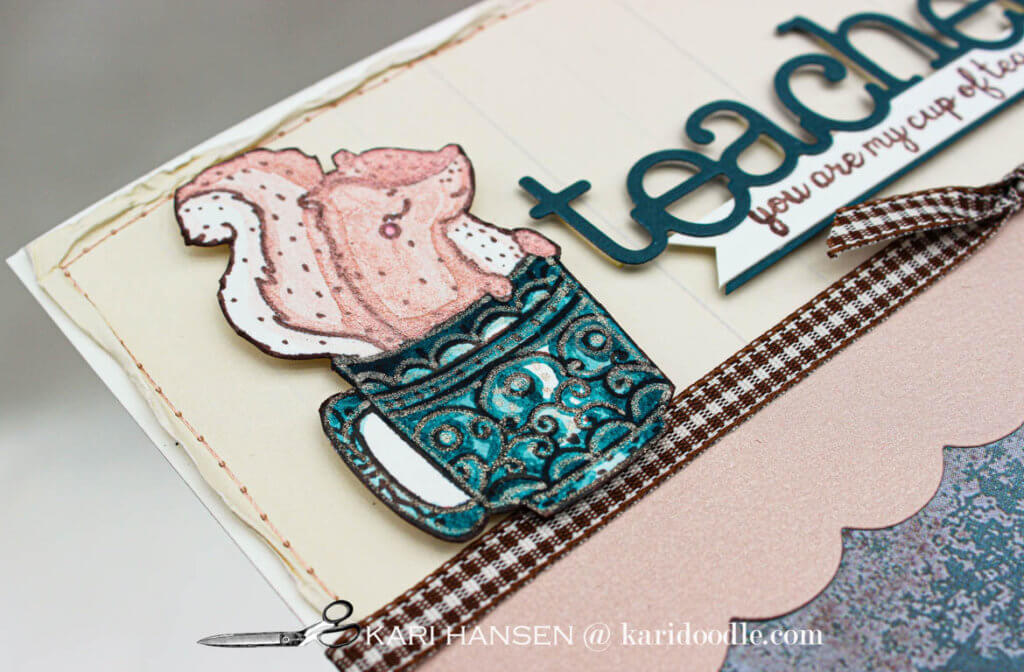
I ended up making one more card and critter in teal tones, for the lone male teacher on my give-list. The original red version, with its floral-patterned paper, felt too feminine for our PE teacher. For the stamped image on the teal card, I chose to use the most geometric of the cup designs.
Here’s another idea for teacher cards: How to Make Classy Clipboard Photo Cards for Teachers
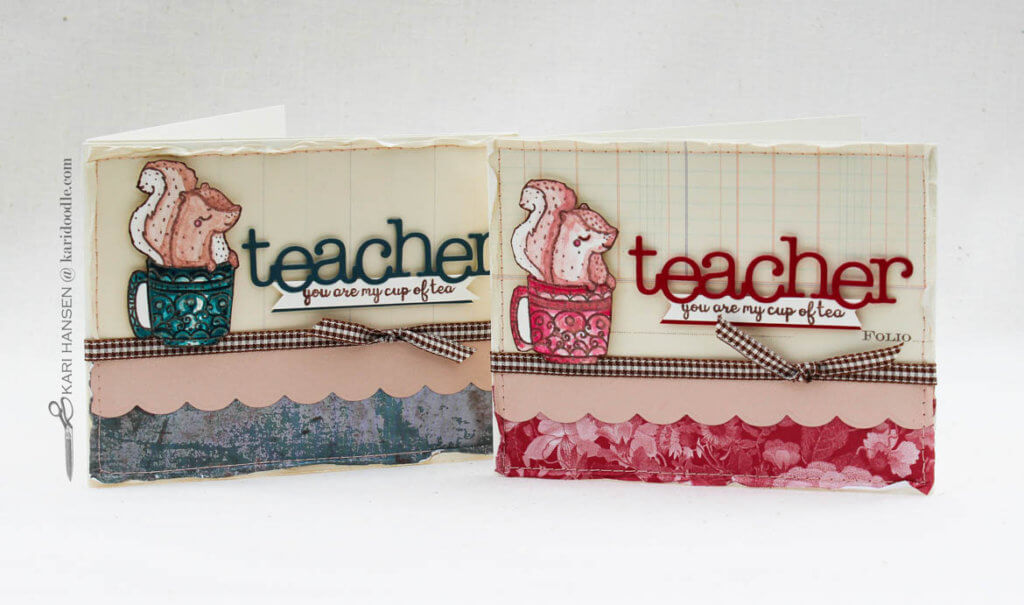
Considering that I tend to hoard craft supplies like a squirrel caches nuts, a new shiny stamp set from Pink & Main soothed my separation anxiety. Those cutie creatures in their tiny teacups were fun to paint, too. I hope our teachers are as charmed by those little whiskered faces as I am!
No squirrels were harmed in the making of this post.

Step by Step: How to Make Cute Critter Teacher Cards
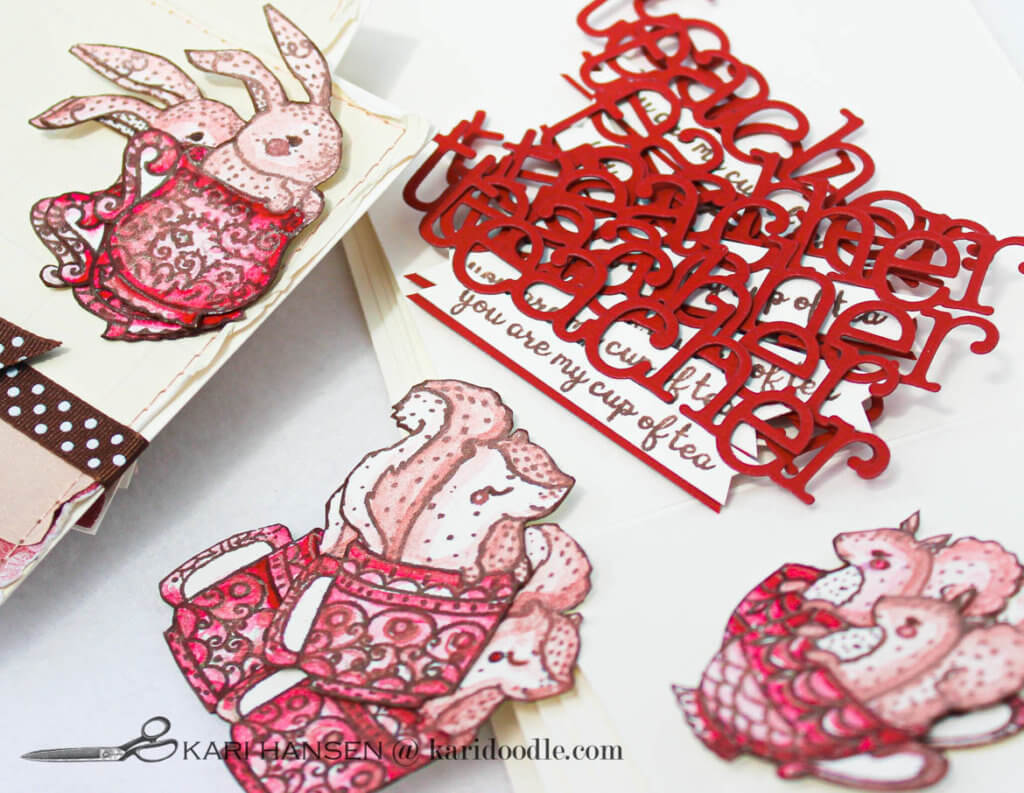
- Using Memento Rich Cocoa dye ink and a stamp positioning tool (Misti), stamp the animals onto hot press watercolor paper (Canson XL). I stamped three animals at a time, rotating out strips of paper, since I was making multiples. I double-stamped each image to ensure a sharp imprint on the textured watercolor paper.
- Paint the animal bodies with rose gold from the Silk Pearlcolor palette. Paint the teacups with raspberry red (no. 36) from the Kuretake Gansai Tambi set. Allow to dry completely.
- Add sparkle to the teacups with a gold glitter fine-tip gel pen (Sakura). Cut out each animal with coordinating die cuts or with sharp scissors. I fussy cut the animals right up to the image, and then carefully went around the edges with a brown marker for a finished look. Place foam tape on the back of each animal embellishment.
- Stamp “You are my cup of tea” sentiment in same dark brown ink onto ivory cardstock. Cut sentiment out into thin paper strip. Cut slightly smaller strip from dark red cardstock. Adhere to back of sentiment as shown, creating a thin offset red shadow at the bottom of sentiment strip.
- Die cut “teacher” (Papertrey) from dark red cardstock. Attach die cut to top of sentiment strip with liquid glue. Place thin strips of foam tape on back of sentiment.
- Make a side-folding horizontal A2 card base: cut 8.5 x 11” heavyweight ivory cardstock in half lengthwise. Fold and score at the 5.5” mid-point, for a finished card of 4.25 x 5.5”. Stamp sentiment inside of card using Keep It Simple: Teacher stamp set (Papertrey) and Memento Rich Cocoa dye ink.
- Cut a card front from ivory cardstock to 4 x 5.25”. Cut ledger paper to 3 x 5.25”. Cut 1.5 x 5.25” piece from red floral paper. Cut a 5.25” wide strip from rose gold cardstock (Paper Accents). Use decorative-edge die (Winter Flurries by Concord & 9th) or a scallop punch on one long side of strip.
- Adhere ledger paper, red floral paper, and rose-gold border strip to card front as shown (avoid getting adhesive near the edges).
- Using rose gold or ivory thread, machine-stitch 1/8” from outer edge of card front. Shabby the edges by dampening lightly with water, then scrunching the paper toward the stitch line using your fingernail or a bone folder.
- Attach ribbon lengthwise across card at top of rose-gold border strip, wrapping and securing the ends around the back of the card front. Tie a 4” piece of same ribbon onto horizontal ribbon border; trim ends as needed.
- Attach the card front to card base. Adhere animal and sentiment to top area of card.
Supplies
- Perfect Blend stamp set (Pink & Main)
- Watercolor paper, hot press (Canson XL 9 x 12” pad)
- Teacher die cut (Papertrey)
- Keep It Simple: Teacher stamp set (Papertrey)
- Winter Flurries scallop edge die (Concord & 9th)
- Rose gold pearlescent watercolor ( Coliro/Finetec set in Silk)
- Watercolor set (Kuretake Gansai Tambi)
- Rose gold pearlized A2 envelopes (Paper Accents)
- Memento Rich Cocoa dye ink (Tsukineko)
- Gold gelly roll pen (Sakura)
- Red floral 12 x 12” patterned paper (similar: Simple Stories/Hometown USA Collection/Let Freedom Ring)
- Ledger 12 x 12” patterned paper (Making Memories)(similar: Simple Stories/Snap Basics/Elm Ledger)
- Teal 12 x 12” patterned paper (similar:
- Chocolate brown gingham or polka dot ribbon
- Rose gold thread (Sulky)
- Brown watercolor marker (Azteca Real Brush)
- Ivory #110 cardstock
- Dark red cardstock
- Dark teal cardstock
Tools
- Hardboard
- Watercolor brushes
- Painters Tape
- Stamping platform (Misti)
- Paper trimmer (Tonic)
- Scissors, fine-tip titanium (EK Success Cutterbee)
- Foam tape (3M)
- Teflon bone folder
- Craft knife
- Sewing machine

3 comments
WOW, these look amazing!
Thank you, Heather!
I just happened onto this site, so your Dad and I have looked at every page. You are amazing. I can’t even imagine how much time you have spent on these pages. Oh, my! I loved the teacher cards. (January 12, 2020). So proud to have such a talented daughter!!! Mum.